 |
|
 05-31-2012, 01:29 PM
|
#22
|
|
|
I have done the sanding deal on my G4 with 2 different bolt stops, my way is to sand with a rougher paper first then with a much finer grader afterwards i use 2500 as a final sanding grade the trick is to sand just a little smooth out the rougher sanding marks place the bolt in the gun dry fire a few times to see where and how much the bolt is still sticking into the breach if you feel it's still to far in sand more but very little at a time and refit till the bolt is just even with the edge of the breach or just a hair behind it any more and you will be past the Oring and when you fire the Oring will get chewed up. this should provide more than enough room for paint to drop down into the breach and not hang up at all.As of now i have mine sanded just very small part of the bolt is sticking into the breach i say less that a 1/32 or less almost even with the back of the breach
|

|

|
 Sponsored Links
|
Remove Advertisement
|
|
Advertisement
|
|
|
05-31-2012, 01:34 PM
|
#23
|
|
|
Techt has always been great over the phone i have called a few times and spoke to them very nice and helped out as much as they could over the phone.Don't remember names Steve or Dan but whoever i spoke with they were very good and helpful
|
|
|
|
|
05-31-2012, 02:50 PM
|
#24
|
|
|
Picture of side of dp g4 showing external air line from top of reg port to air can. 10/32 tapped threads with 1/8" i.d. barbs using heavier tippmann response line. This gun operates at 190 psi, not sure why pressure didn't drop with addtion of air line like my g3's. Haven't had time to investigate why.Only one exterior air line. g3's have two, one each side.
Last edited by van457 : 06-27-2012 at 05:28 AM.
|
|
|
|
|
05-31-2012, 03:03 PM
|
#25
|
|
|
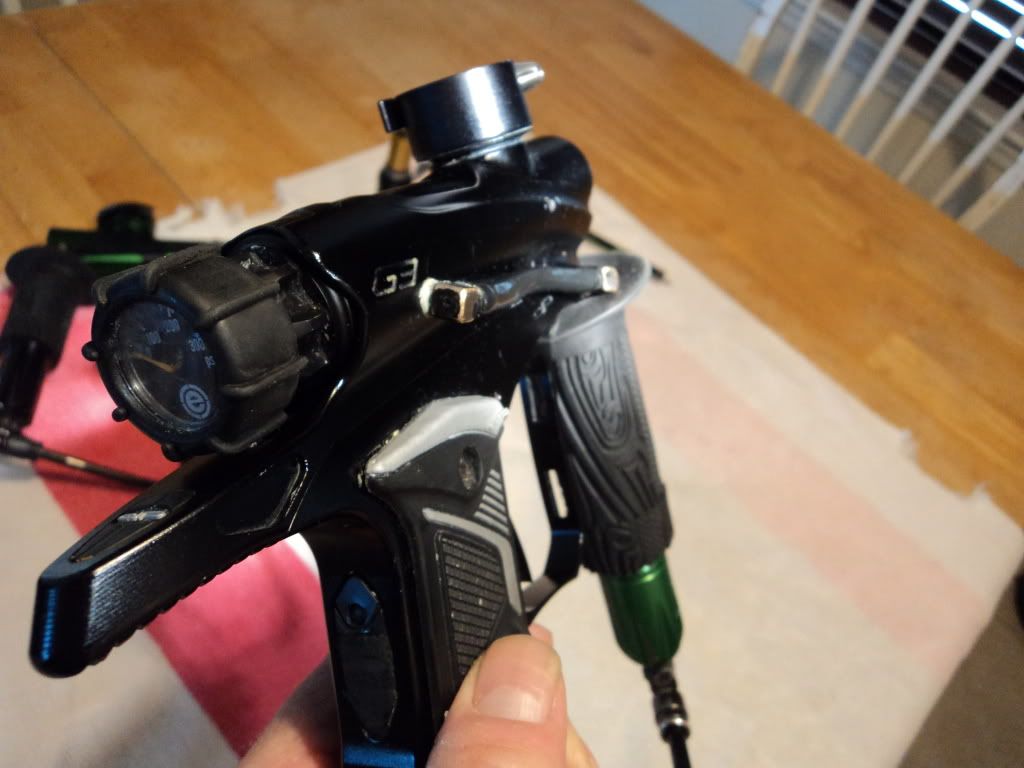
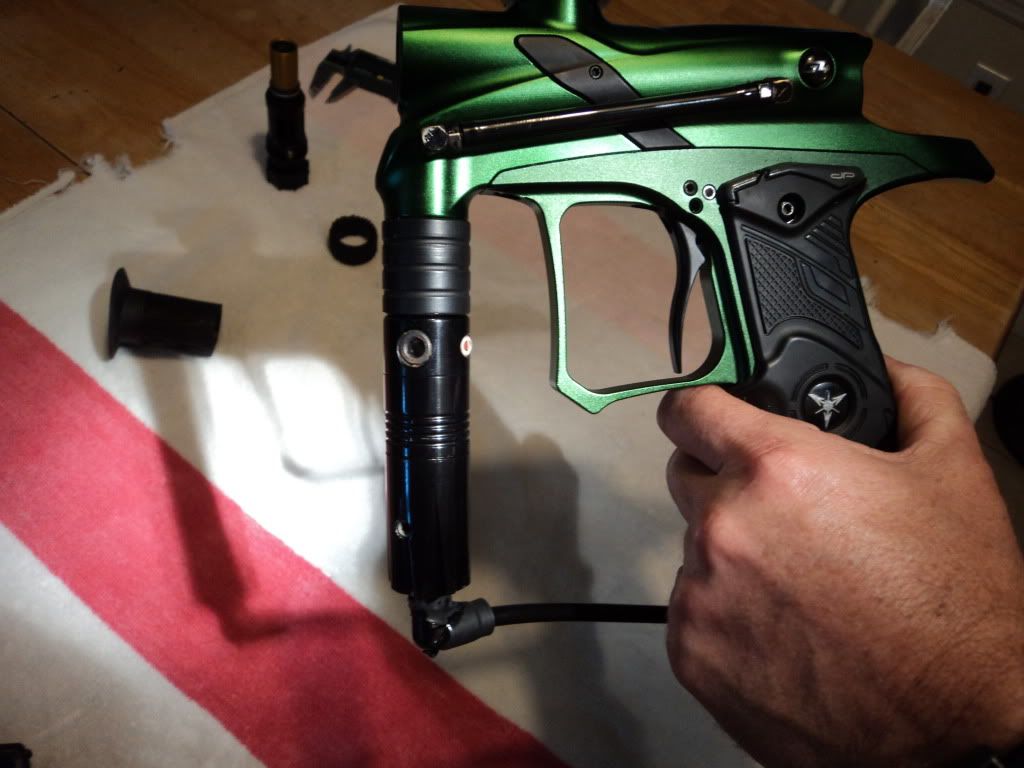
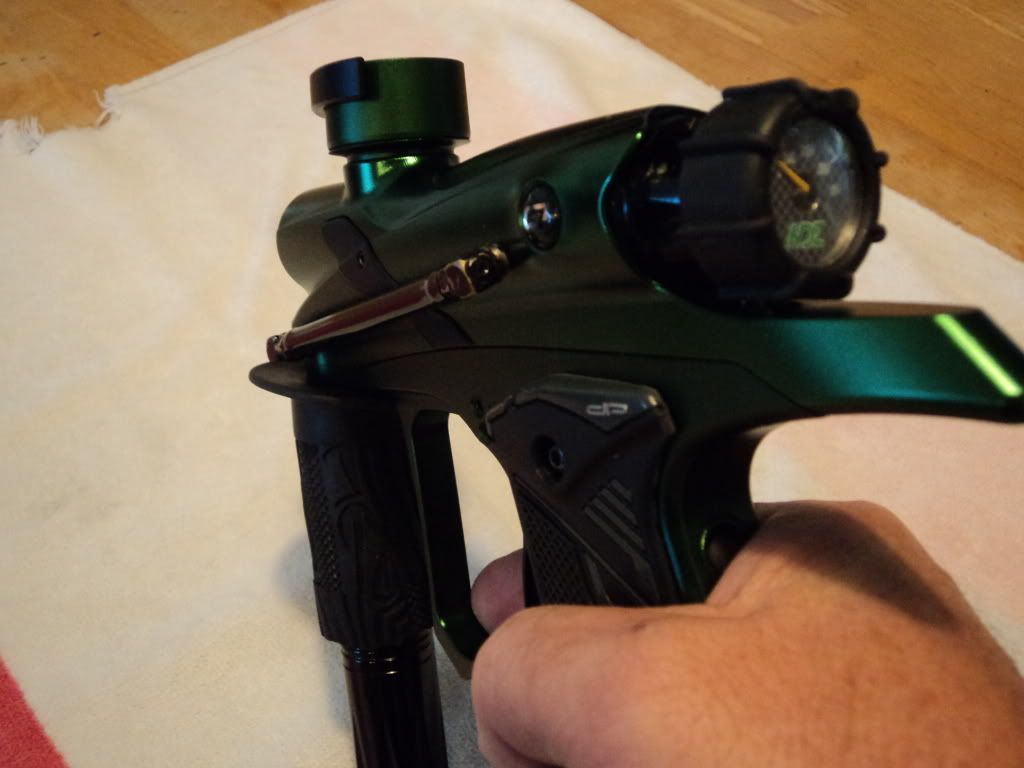
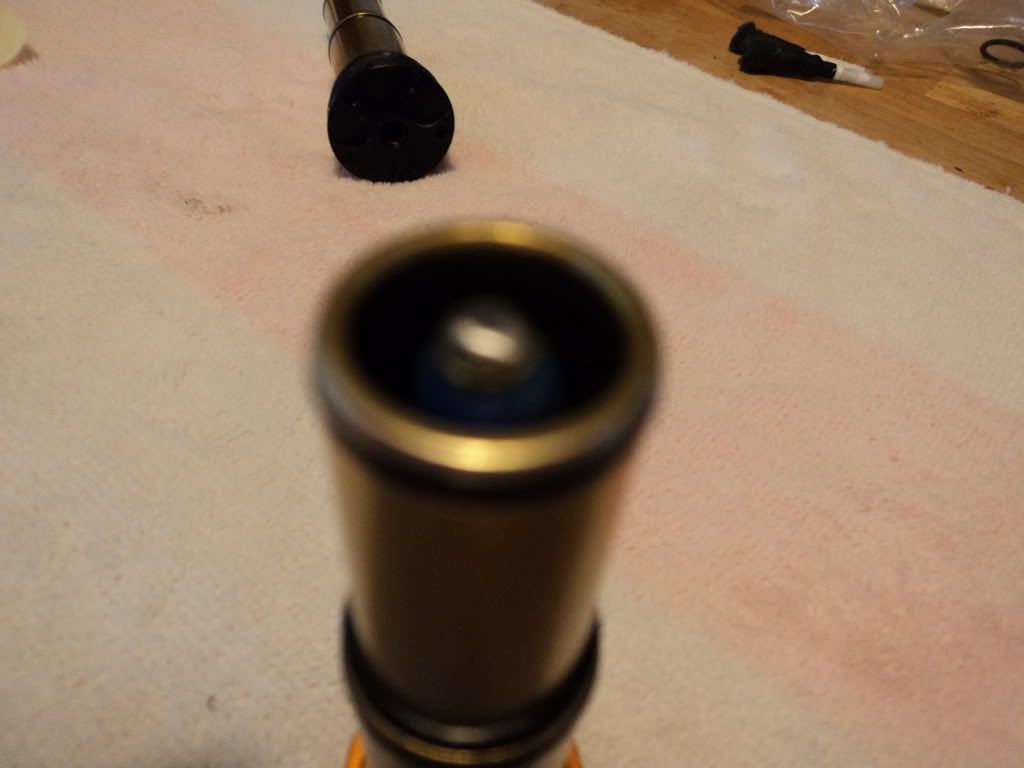
Pic of g3 with dual exterior air lines. addition of first air line dropped operating pressure to 150 psi from 175 using techt bolt engine. addition of second air line dropped pressure addtional 10 psi. to about 140-145. Pic of green g4 shows reg extender on top of reg creating more stored air volume thus expanding post regulator air can volume. All our g3's and one g4 has reg extenders for post reg stored air volume with exterior air lines and c.p. regs for high air flow. If you look at hole in c.p reg piston, they have one of the biggest holes in piston for high flow.
Last edited by van457 : 06-07-2012 at 06:10 PM.
|
|
|
|
|
05-31-2012, 03:13 PM
|
#27
|
|
|
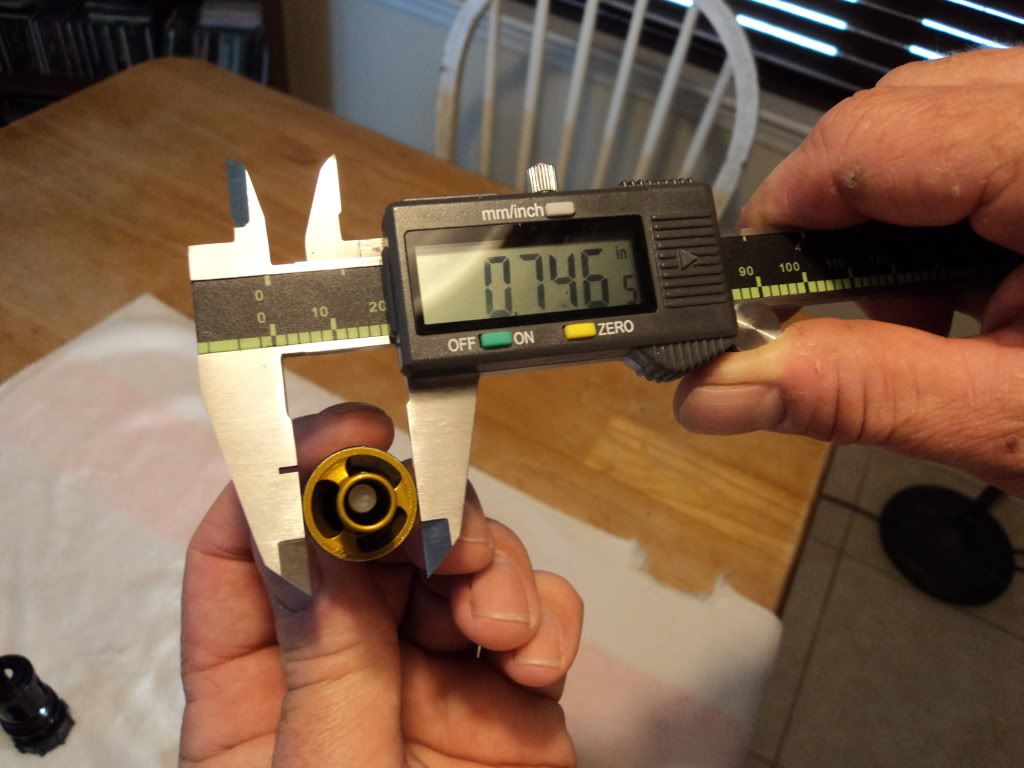
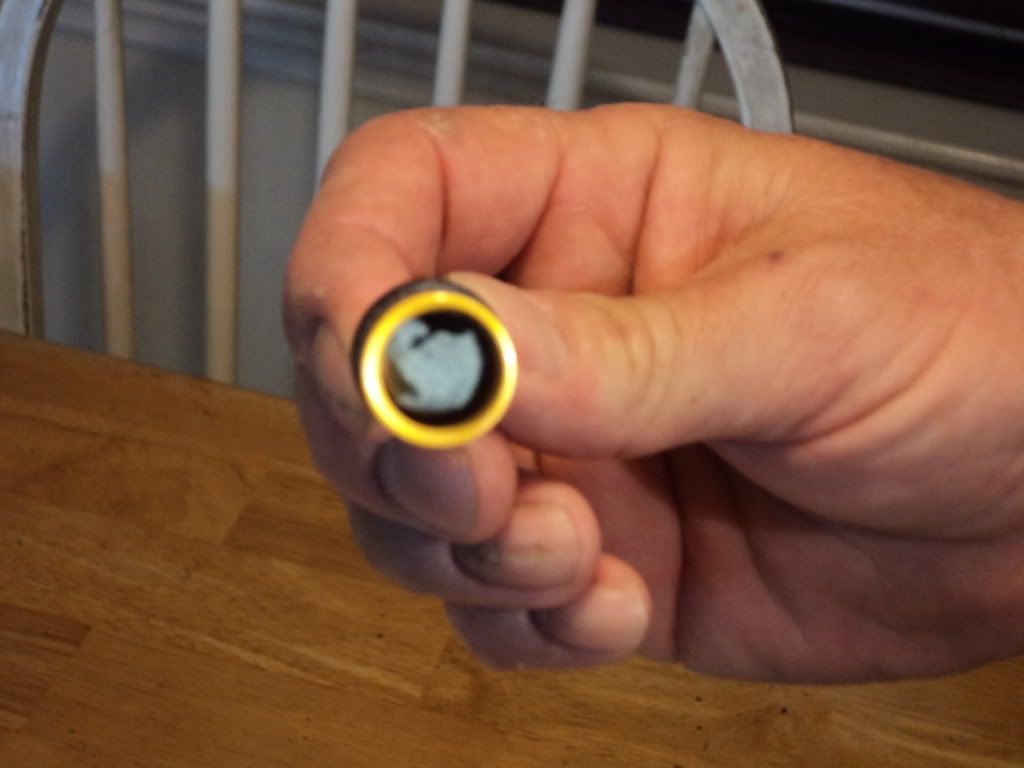
g4 techt Bolt dimension .746 at rear oring location after turning on drill press to allow more clearance of bolt and breach for better fiting oring. I felt stock techt bolt oring was to tight. Turning on drill press to remove some metal at rear oring location gave more clearance in breach for better fitting oring. turned with file,then sanded 220 or 320, then 0000 steel wool to polish up this area. should have got a picture of reduced area. Bolt moves EASY in breach with no leaks.
Last edited by van457 : 06-07-2012 at 06:11 PM.
Reason: added info
|
|
|
|
|
05-31-2012, 03:55 PM
|
#30
|
|
THAT COCKER/PUMP GUY...
Join Date: Oct 2010
Location: VA
|
this is very interesting... i need a lathe an a mill...
__________________
PinoyNo remorse, no regrets, never give up Gun Tech for NRG^2
Feedback~ PBN +97/0/0|Ebay +116/0/0
|
|
|
|
|
05-31-2012, 04:59 PM
|
#31
|
|
|
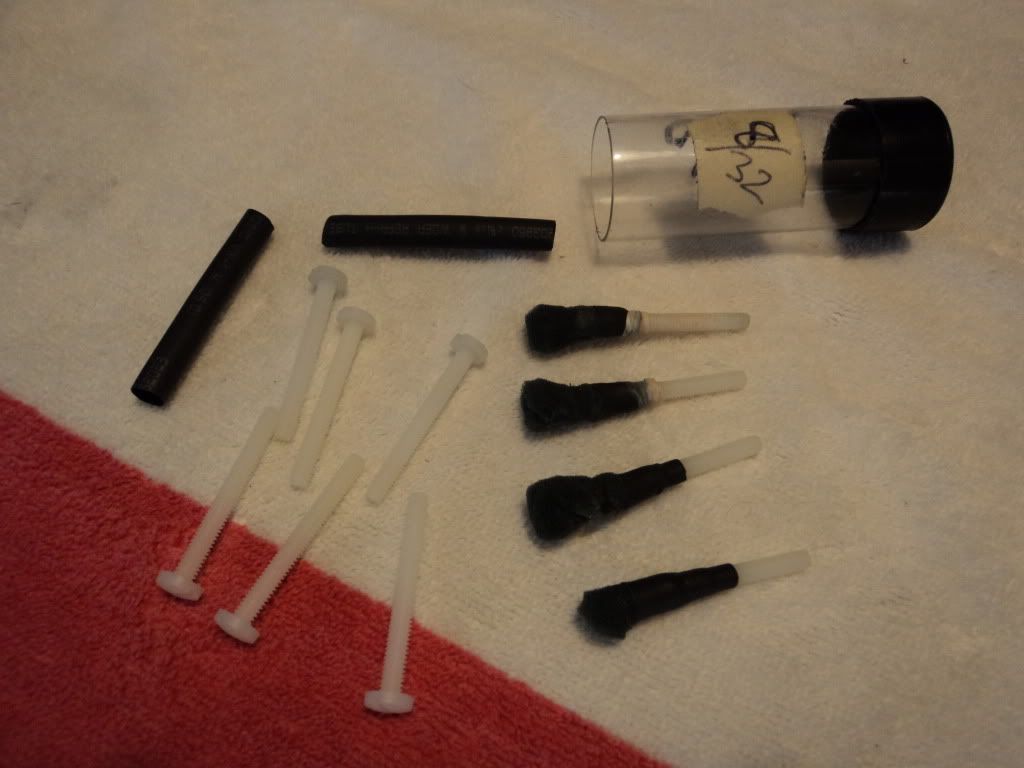
Pic of techt g3 version one bolt with sharpie pen bolt cap mod.Pros: This mod dropped operating pressure 15 psi due to elimination of vortex upon firing. Think of a fast moving stream with a rock in the middle, on the down stream side of rock you have some eddie/vortex. This elimiates that and makes your air use more efficient. Also semi firing was faster as eyes picked up ball sooner due to 10/32 treaded rod sharpy cap is mounted to. When bolt is in rest/non firing postion 10/32 rod, which is filed and sanded round smooth on the end is even with face of bolt for straight ball stack.Never tried this with fragile paint so don't know if bolt hitting paint after a small amount of acceleration would crack paint. This is a cheap mod to do with pretty good results.Get a 10/32 screw about 3" long and a can of urethane foam, the kind you use to insulate doors n windows, I use the regular expansion foam, and a sharpie cap. In the CENTER of your back cap stem (the roundeish part by the oring) take a sharp nail or awl and hammer and indent it so your pilot drill bit for tapping the 10/32 threads will not wander. The best way to drill this pilot hole is with a drill press, I wouldn't try it with just a drill. You can hold back cap flat down to drill press table with pliers, but back cap may spin as you drill, marring back cap with scratches at stem. A better way may be to rout a slot in 2x4 or 2x6 etc. the width of the allen wrench used to tighten backcap so you can set back cap down flush on 2x4 and recessed allen wrench. Drill pilot hole about to where bolt rests on back cap bumper, don't go to far and drill through to allen wrench recess.Tap 10/32 backcap using any oil you have around to help until you hit bottom of pilot hole.Clean out any/all metal pieces.Wash backcap in sink with hand dish washer detergent to remove any/all oil and metal.Drill shapie cap with same pilot bit and tap sharpie cap on tip with 10/32 threads. Using BLUE locktite, run screw in backcap as far as you can,with screw bottomed. Screw needs to extend past front of gun bolt as bolt rests on backcap. With bolt resting/seated CORRECTLY on back cap, using sharpie mark were you will cut off bolt even with front of gun bolt using hack saw dremel etc. Now that threaded bolt is cut off even with gun bolt, insert gun bolt in gun,screw on backcap. With NO AIR IN GUN, DO NOT ATTACH A TANK, look down breach were barrel screws on and see how centered 10/32 bolt looks in gun bolt.With shapie pen mark end of threaded bolt on one edge at cutoff so you know which way to bend threaded bolt to center it in gun bolt. Remove backcap and with a pair of pliers at base of threaded bolt bend threaded bolt till you get it centered in gun bolt as you look at it when it's installed. This may take a few times. Once threaded bolt is centered in gun bolt when installed in gun, file rod end round then sand SMOOTH and round (you can use a 1/4 sheet electric sander) with a nice finish with no burrs, your ball when loaded will rest against this. Eye ball/ place sharpie cap with what you have with backcap and rod, it will be to long.Cut sharpie cap base (with hacksaw etc.)where you think it will meet round area on backcap, This is farther down past where rod enters backcap, cut it a little longer than you think you need, you can trim it as you go. Use sand paper on a flat surface to reduce small lengths of cap and to get cap as square as you can (on big end). test fit on threaded rod. Make sure you have some threads on rod to spare showing outside cap. Once you get sharpie cap mounted on rod and you're happy with it check it in gun again. If all is good to go,Blue locktite end of threads were sharpie cap threads on.Do following step outside or in shop with gloves, urethane is hard to get off. Taking can of urethane insulation foam, spray some foam inside shapie cap (maybe about 1/2 or 3/4 full, foam expands) then screw cap onto threaded rod in backcap making sure cap is seated/centered on backcap correctly at base. Set aside and let this cure over night. Any excess foam that sqeezes out of bottom of shapie cap can be cleaned up when dry. This foam helps keep cap in place and prevents pressurization of space under sharpie cap.
Last edited by van457 : 06-27-2012 at 05:30 AM.
|
|
|
|
|
05-31-2012, 10:20 PM
|
#34
|
|
www.fxanodizing.com
|
I had to shave down the bolt tail on my threshold bolt to get it to shoot..
I also had to swap the front bumper o-ring with a plastic one to prevent the bolt from getting stuck in the forward position. My guess with my bolt was that the front bumper o-ring gland was milled too large causing the front body o-ring to blow out, or the bolt to get stuck in the forward position.
__________________
Has Resting Angry Face
|
|
|
|
|
06-01-2012, 09:44 AM
|
#35
|
|
Northern Colorado
Join Date: Nov 2011
Location: Northern Colorado
|
van457,
Your sharpie mod looks interesting. I can see how it would work. It makes you wonder why DP didn't do something similar to their back cap. This mod could be done on a much smaller scale to the tail on the Techt bolt to plug the hollow tube and blunt end of the bolt tail. Of course the improvement might be quite small.
I think I wlll adapt this mod to my Macdev Drone DX which has an even more blunt valve than does the G3/G4. It's a true 90 degree flat surface perpendicular to the air flow.
__________________
Paintball is ...all right I guess.
Last edited by rkenders : 06-01-2012 at 12:45 PM.
|
|
|
|
|
06-01-2012, 09:48 AM
|
#36
|
|
|
frmrspecialist,Sometimes what your describing is caused by leak at breach oring just behind rear of feed neck hole. This oring seals air as bolt is pushed back by solenoid and holds air pressure until marker is shot again. I'm not sayin your bolt didn't get stuck in firing postion, but sometimes a lack of lube at above oring will cause bolt not to go back/ recock.
Last edited by van457 : 06-01-2012 at 10:43 AM.
|
|
|
|
|
06-01-2012, 10:07 AM
|
#37
|
|
|
rkenders, My stock g4 also has a sharpie mod with stock bolt as back up to bolt engine.The only difference is sound, stock bolt louder.Stock bolt with sharpie mod and bolt engine both operate at 190 psi., 280 f.p.s. dwell 12 m.s. I used 10/32 threaded rod here also, but had to file/smoothed part that sticks though bolt face alot smaller to fit through bolt venturi hole in center, I forgot to include a picture on this bolt. Didn't want to modify bolt, wanted to use a stock bolt with this sharpie. Rod only sticks through a Little bit due to small dia., was worried about paint breakage due to small surface of rod so went through just enough with rod to keep ball off bolt face just a little.This would help with fsdo as no ball stack for bolt to push against at initial firing. I don't have fsdo anyway as i size rings per gun and use lurker lube, good stuff! I've tried just about all spool valve grease out there so I could give you my opinion on them sometime. For gun oil violent oil or just go to home depot and get a bottle of paslode PNUEMATIC gun oil, cheap and good. Don't get the paslode oil for gas(LP) fired gun, it has petrolium stuff in it.
Last edited by van457 : 06-03-2012 at 08:56 AM.
Reason: added info
|
|
|
|
|
06-01-2012, 11:53 AM
|
#38
|
|
|
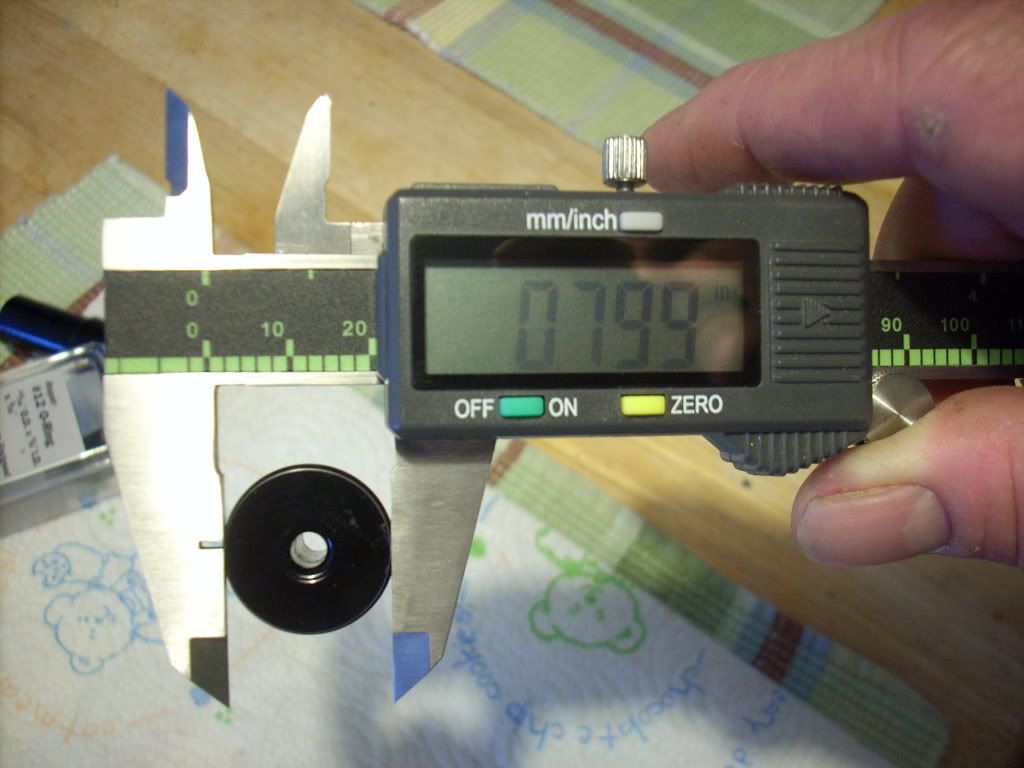
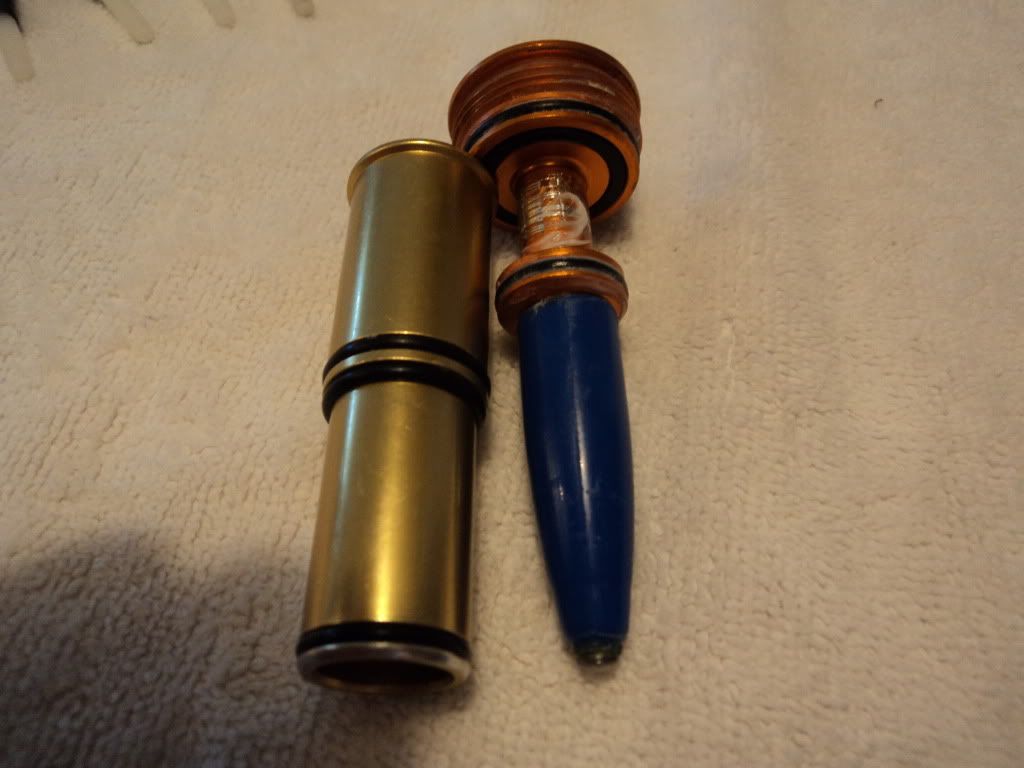
Pic of c.p. low pressure reg piston turned and finished to .799 to allow for more clearance for use of softer duro rubber rings. I think stock rings are a duro of maybe 90, they're pretty hard. Home depot plumbing section, danco#12ring for piston, h.d. #5 for ring where piston stem goes through reg. body where shim stack rests.With most regs, there is a hole at shim stack to allow for ambient air pressure so piston can move properly/freely. With my c.p. version 2 regs this hole is really small. With reg on gun I mark a spot in this area facing rear of gun and drill a slightly bigger hole. I believe this gives reg. better function IMO anyway.
Last edited by van457 : 06-07-2012 at 04:51 PM.
|
|
|
|
|
06-01-2012, 11:57 AM
|
#39
|
|
|
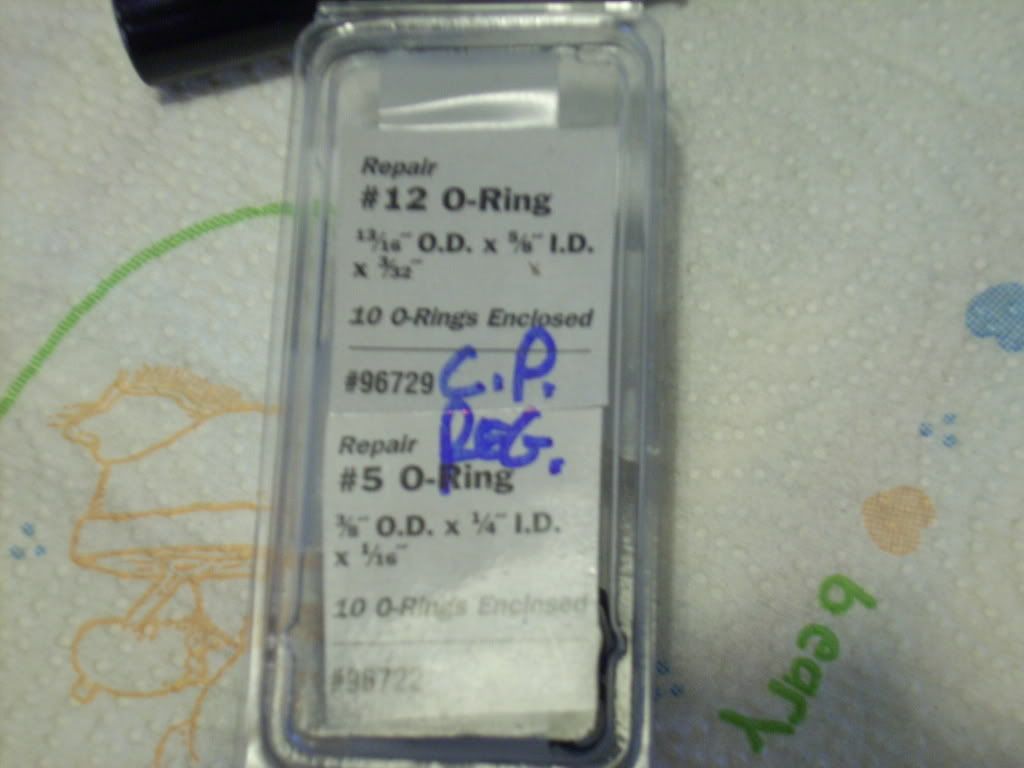
home depot/danco orings for c.p. version 2 reg piston and piston stem oring, H.D. #12 and #5
Last edited by van457 : 06-07-2012 at 04:51 PM.
|
|
|
|
|
06-01-2012, 12:00 PM
|
#41
|
|
|
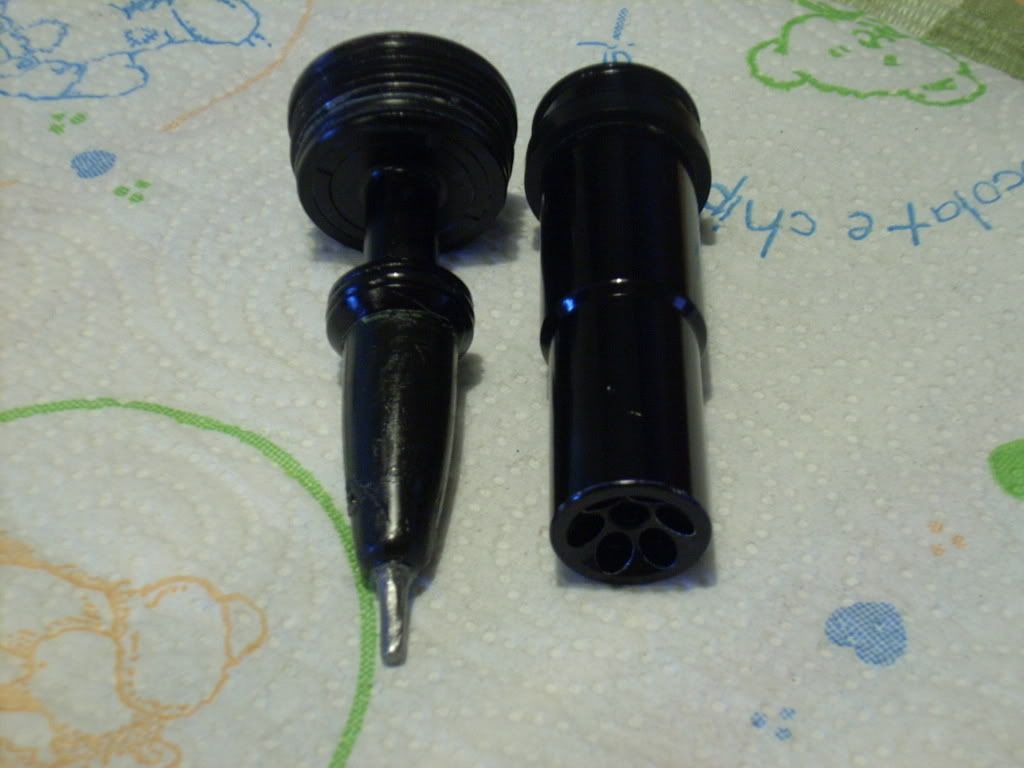
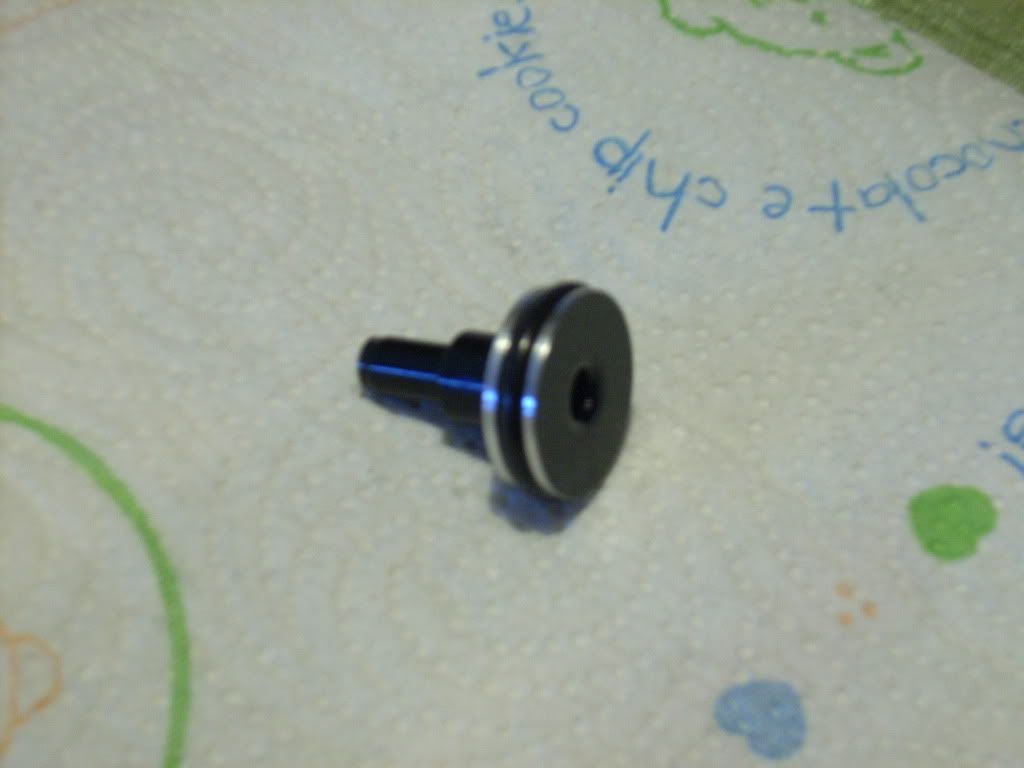
Stock g4 bolt with sharpie mod
Last edited by van457 : 06-03-2012 at 08:58 AM.
|
|
|
|
|
06-01-2012, 12:00 PM
|
#42
|
|
Join Date: Oct 2009
Location: Cincinnati Ohio
|
Ok, I will show you a couple of pics of my marker
Currently my g3 is running between 135-140 psi with the modded bolt at 280 fps
First pic shows where you need to shave the bolt at, the pen is pointing to the spot...
other pics show the psi gauge mounted on the back of the techt bolt engine
Hope this helps out, simple mod and does alot for the g3, at least for us it has, I have been told someone has done it to the G4 as well with the same results as far as the bolt goes..
I won't mention his name unless he says it is ok, but he did try it and it did work for him, he was running his marker at 130 psi with a 250 fps shot...
so that would be about right between 135-140 psi for a 280 fps shot...
ENJOY!!!!!!
|
|
|
|
 Posting Rules
|
You may not post new threads
You may not post replies
You may not post attachments
You may not edit your posts
HTML code is Off
|
|
|
|


 Your Privacy Choices