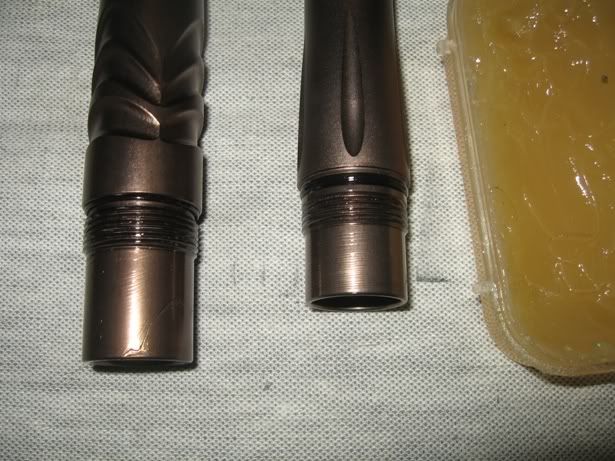
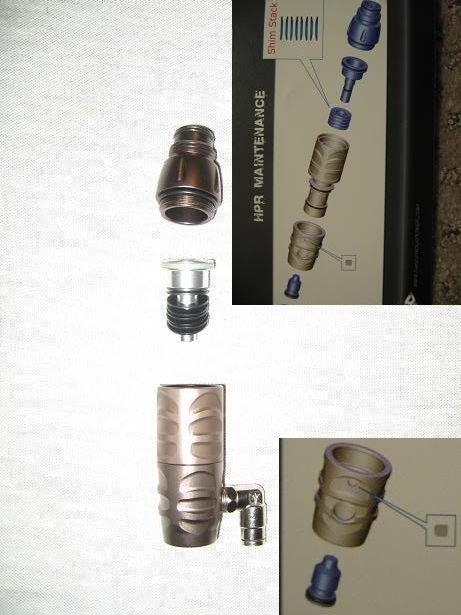
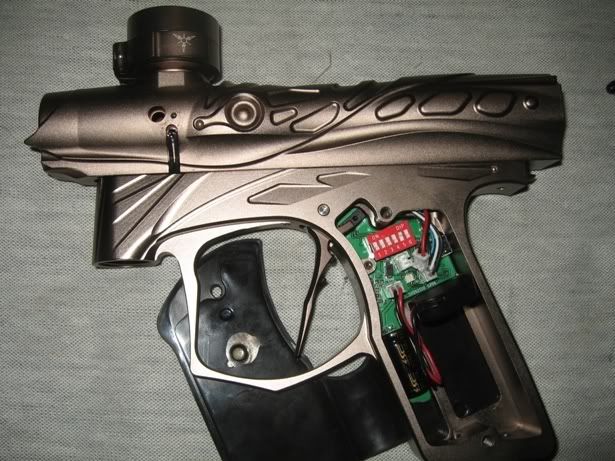
Breakdown of the Threshold Solenoid
The Dangerous Power Threshold Solenoid is a very reliable, user friendly, and rarely ever needs to be cleaned or lubed. If you are not having marker problems, don’t mess with it. If you are having problems with the cycling of your marker contact Dangerous Power. If they recommend you clean, lube, or replace O-ring on the piston, or replace the piston in the solenoid. I hope this tutorial will help you.
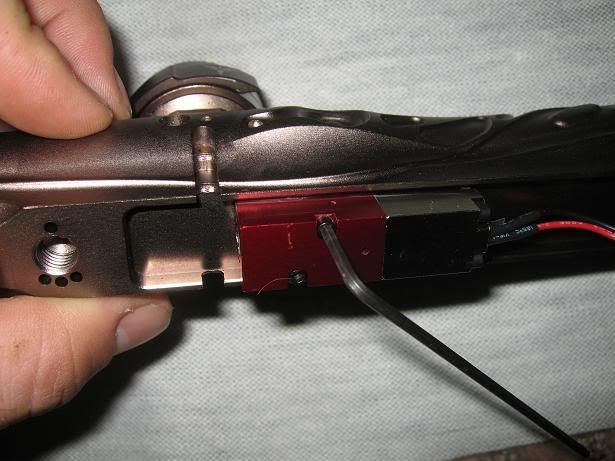
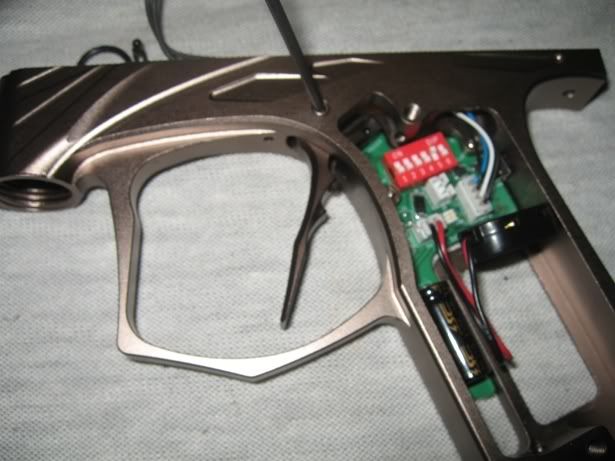
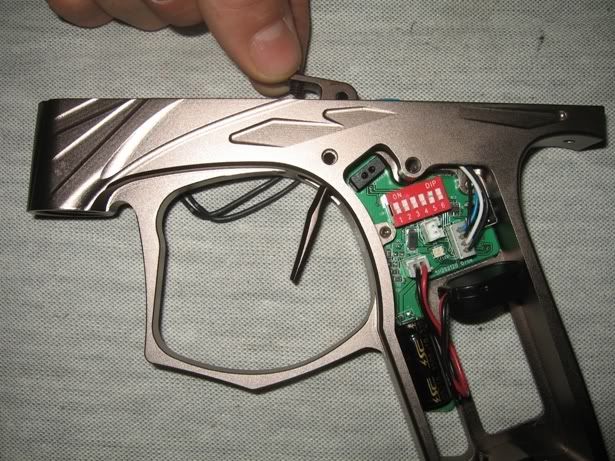
Refer to the “Complete Separation of the Thresholds Body and Frame” section to get to the point where you can access the solenoid.
Read completely before starting.
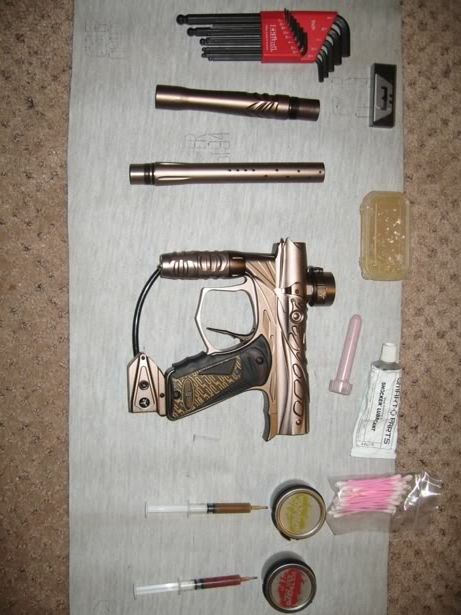
Tools needed:
5/32” Flathead Screwdriver
5/64 Allen wrench supplied with purchase
Small Needle Nose Pliers or small tweezers
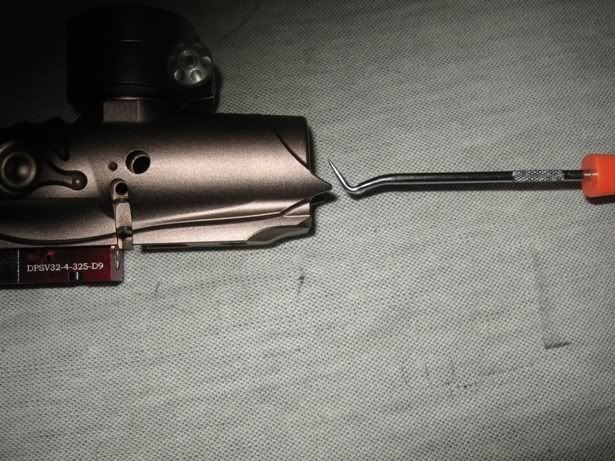
Dental tool or O-ring pick
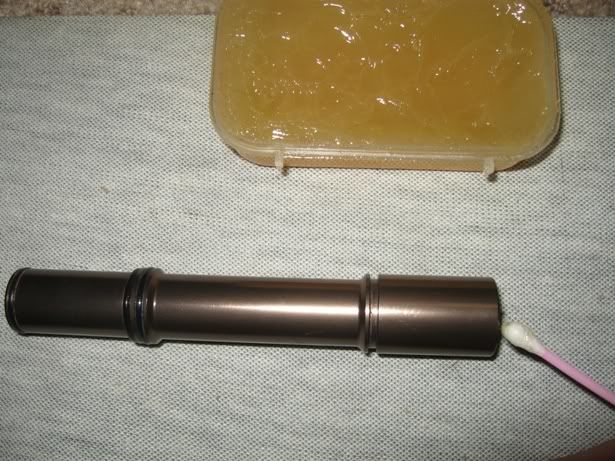
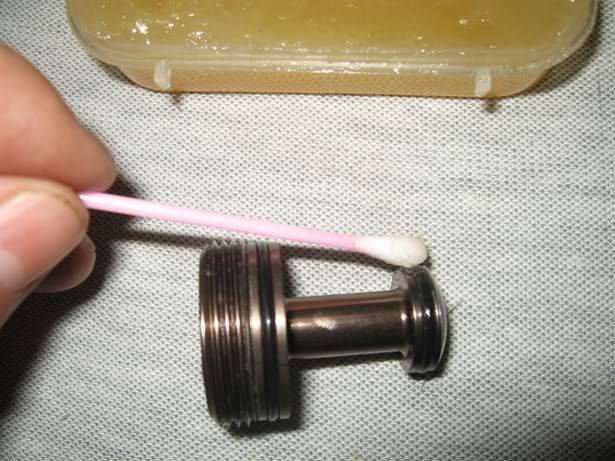
50/50 mix dow33 gold cup
Dow55 or similar swelling lube
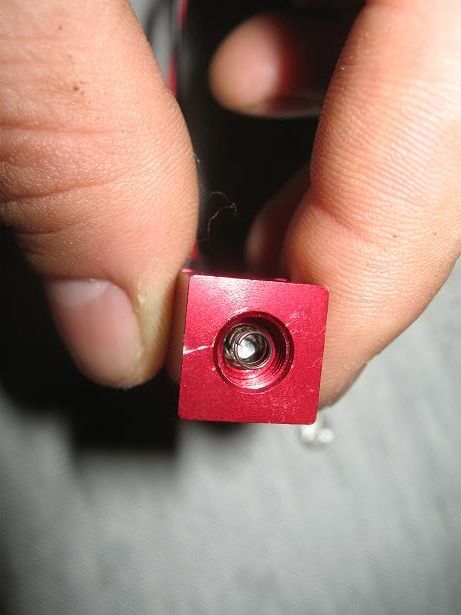
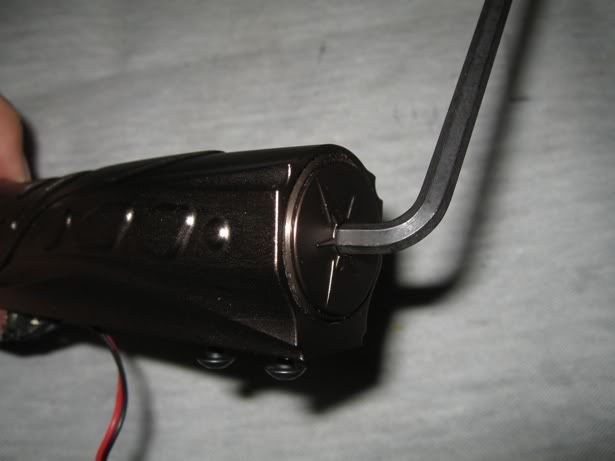
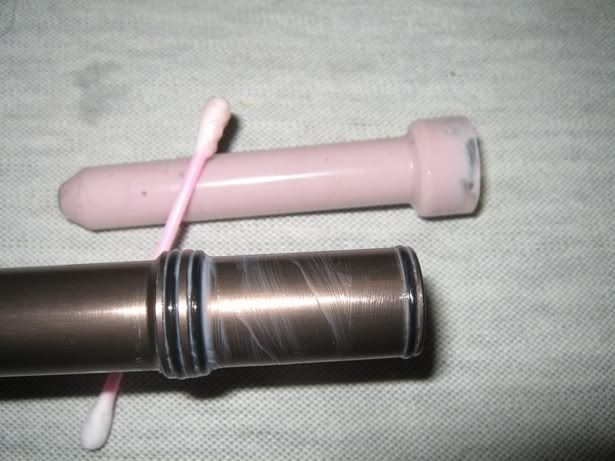
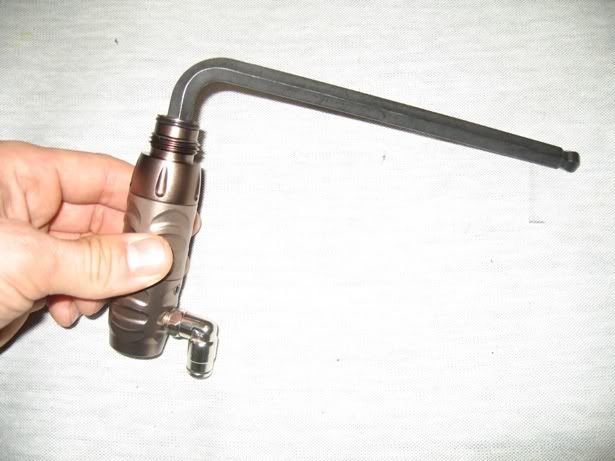
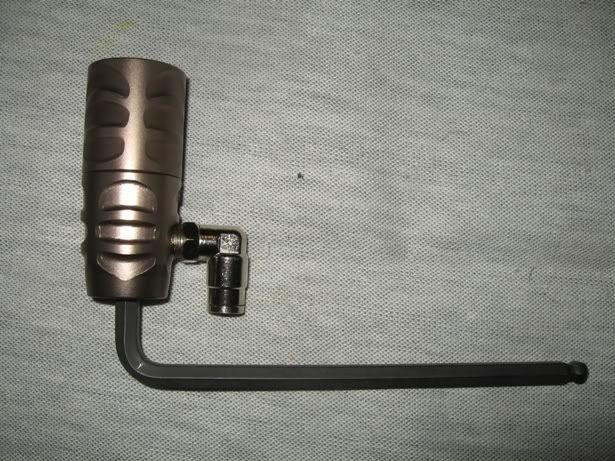
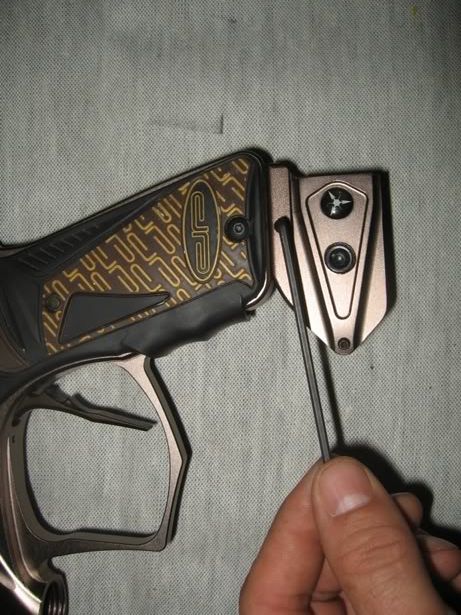
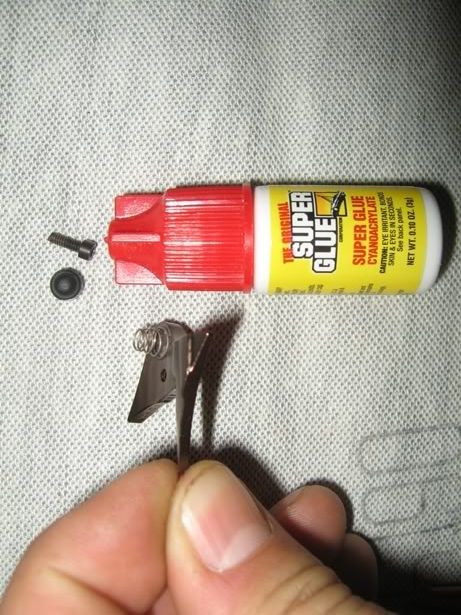
Step #1 First, unscrew the 2 mounting screws securing the solenoid to the body. These screws have very small threads and, if over tightened, can strip very easily.
 Step #2
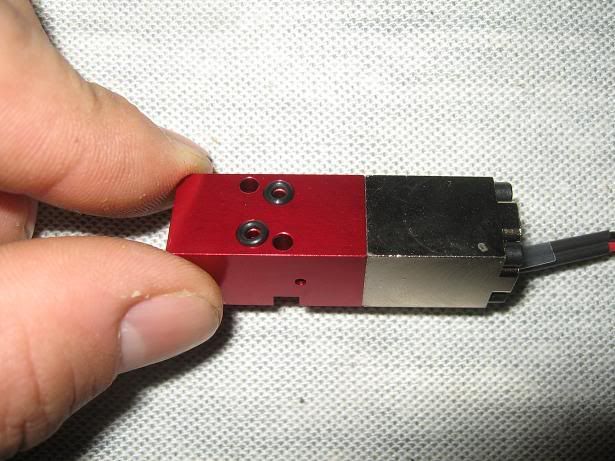
 Remove the 2 O-rings that seal the solenoid to the body and place them in a bag or safe place. These are small and can be lost very easily.
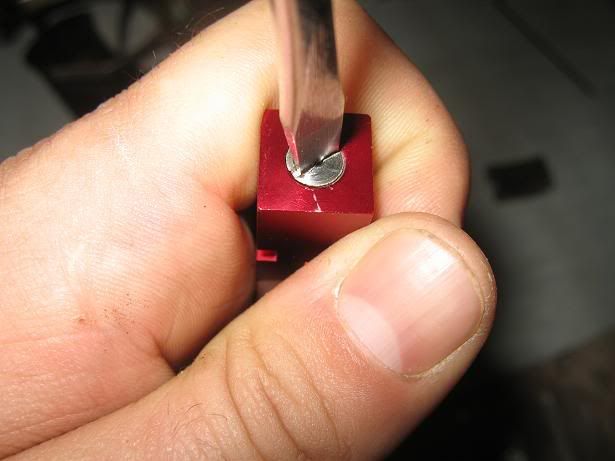
 Step#3
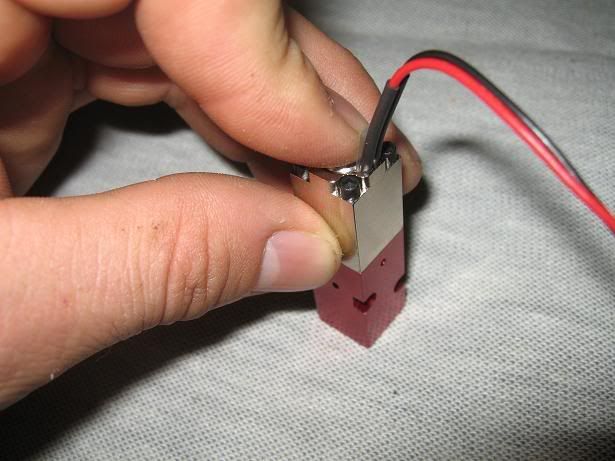
 Time to use that screwdriver. The screw driver I’m using is a 5/32 flat head screw driver. You can use another size screw driver just as long as it fits the screw’s width. If you use too small of a screw driver; the screw will be harder to unscrew, can damage the screw head, and possibly strip the screw’s head. This screw can be very tight and being on such a small object, can be difficult to loosen just by holding the solenoid. If you can’t unscrew it by holding it, you can use a vice. Be sure to put something on the sides of the solenoid as to not damage it. You can also use vice grips, but as before, protect the solenoid from any metal device holding it! Leather is great to use.
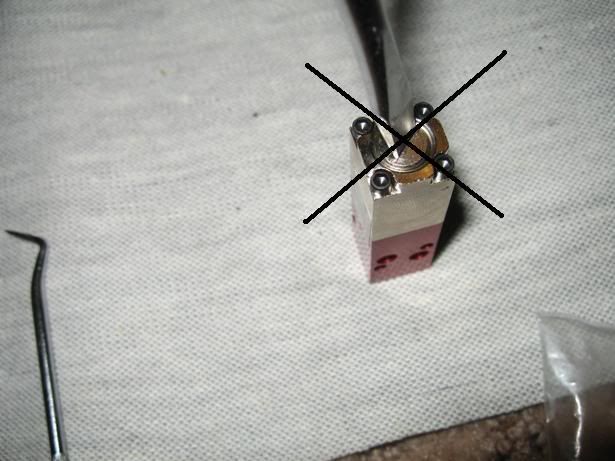
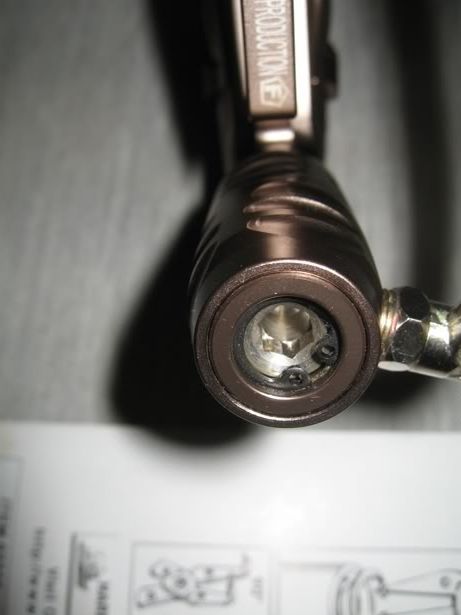
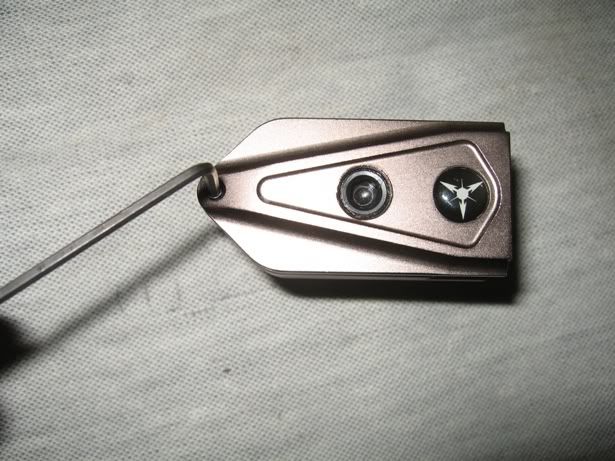
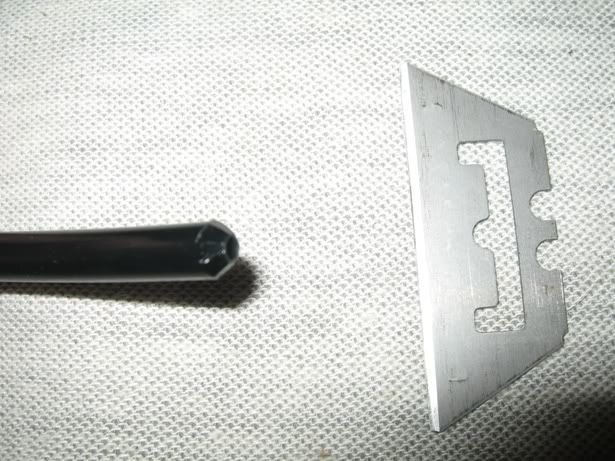
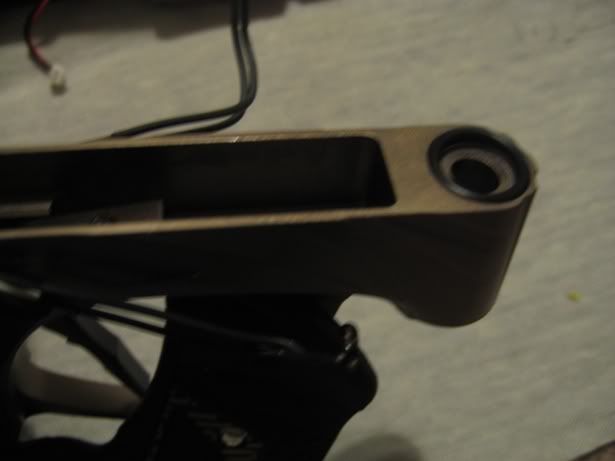
 DON’T TOUCH THIS SIDE!
 Here is another picture, but of the wrong side! You don’t need to open this side for anything ever. Notice the Hex head/Allen screws on this side? If you touch those screws and separate the halves of the solenoid, say bye-bye to your warranty! Unless instructed by Dangerous Power, leave this side alone.
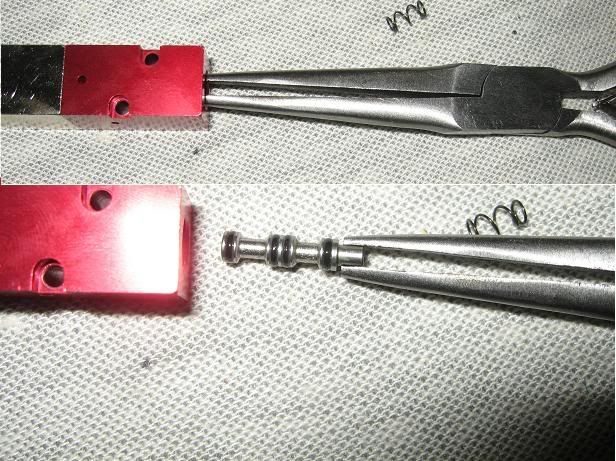
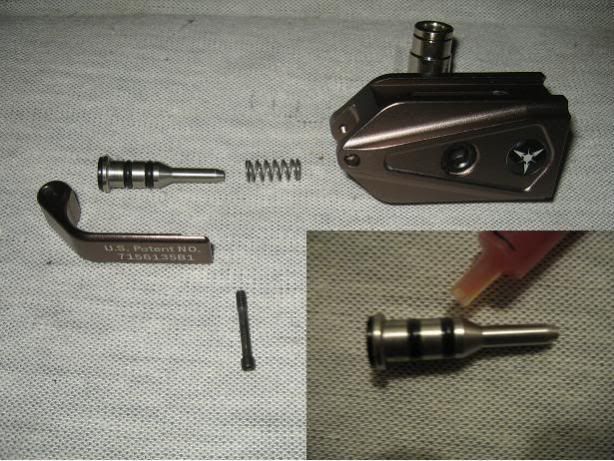
Here you can see what it will look like after you remove the screw.
 Step #4
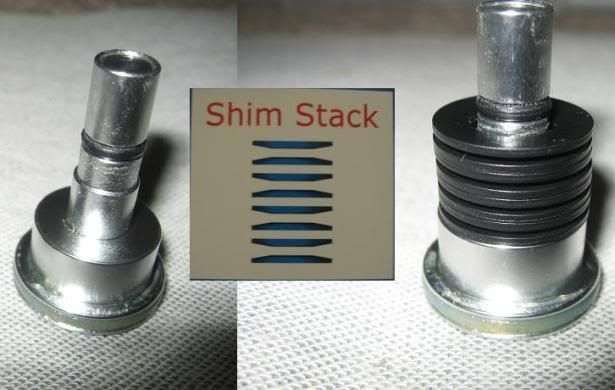
 Welcome to the most frustrating part of the solenoid. Depending on the condition of the O-rings, lube, and piston, this can be a pain in the…

First remove the spring and set it aside. If you’re lucky enough to have a pair of small tweezers that will allow you to just grab the piston, while fully inserted, your luckier than I am and can skip the next paragraph.
Here’s the dance and be prepared to put your patience to the test. Find a hard flat surface that will not shake or move. Place a few sheets of paper or something similar that will remain flat, but won’t harm the finish of the solenoid. Like the HPR’s piston, you will need to turn it upside down. Holding it securely and at a perfect 90* angle to the flat surface; sharply hit it against the surface. You may need to do it several times, but what you want is to get the piston to move towards the screw opening.
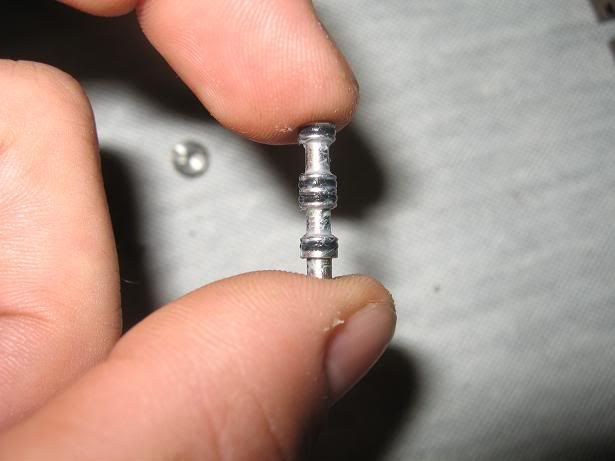
 Step #5
 You’re Victorious! Get those needle nose pliers or small tweezers, and take it out the rest of the way. This is what you should have.
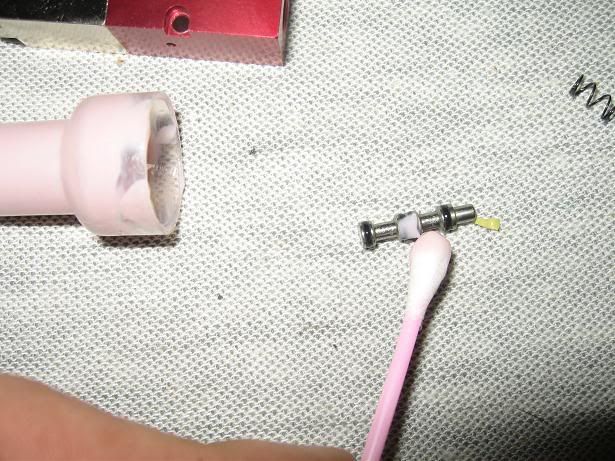
 Step #6
 Clean it up, replace O-rings that are showing ANY wear, and relube with the 50/50 mix. You will only need a thin layer of lube on these O-ring. Don’t over lube them and stay away from any swelling lubes.
To put back together, just reverse steps. You don’t need the solenoid piston screw anywhere near as tight as they have from the factory. Just tighten it up, but don’t crank down on it.
Also remember those 2 little O-rings that you placed in the bag. LIGHTLY lube them with Dow55 or other swelling lube and don’t over tighten the screws that secure the solenoid to the body. Once you feel resistance, tighten each one just a little bit at a time, alternating from one to the other until tight.
If you can't make head or tails from the pictures and descriptions, IntenseImage has made a great video of the disassembly of the solenoid.
DP Solenoid Maintenance Vid By IntenseImage
 Tips n Tricks
*It’s worth it to find tweezers small enough to just grab the piston out of the solenoid. The best advice I can give is to find a solid flat surface to hit it on if you don’t have tweezers or pliers that will allow you to just grab the piston. Granite countertops are ideal, but even hard wood table, or even a driveway (be sure to put something down i.e. towel) will do.
*If you need to replace any O-rings on the piston, save yourself the hassle and just cut them off. Replacing the O-rings on the piston is enough of a pain.
*Once the piston is properly lubed, hold it with the pliers and move it back and forth inside the solenoid. This will help get rid of the excess lube and make slide more easily, less likely to cause FSDO too.
*Lastly. That solenoid end screw that was a pain to get off. Clean the threads up before screwing it back on the solenoid. It’ll make it easier to remove if you ever need to again.


 ENJOY!


 Your Privacy Choices