Ok, so I had a leak within my ASA and I searched through the threads and this is one piece of "fix it" advice I could find little about. The little info I could find on how to take apart the ASA were mediocre at best. So here's my small contribution to this forum. (Not a huge deal, but I know it helped me to look at some pictures while first taking apart my Dye Matrix)
What You Need:
*Dm with leaking ASA
-Socket Wrench/Screwdriver; 7/32" or 5.5mm (I used the 5mm and it works just fine)
-3/16 Allen Key
-Pliers
-Dow 33
-007 O-ring
-Oring Pick (Optional)

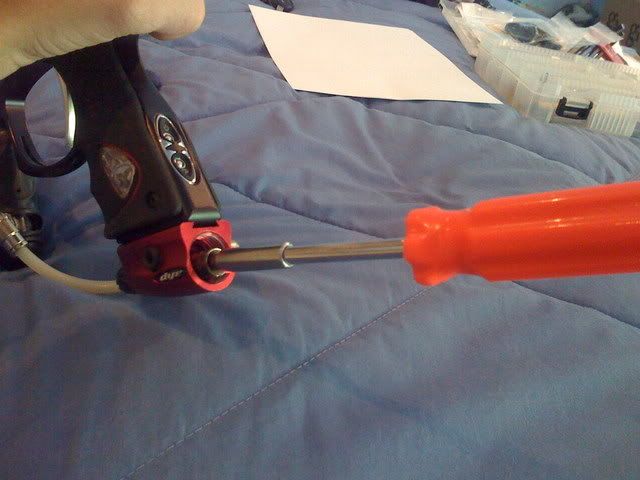
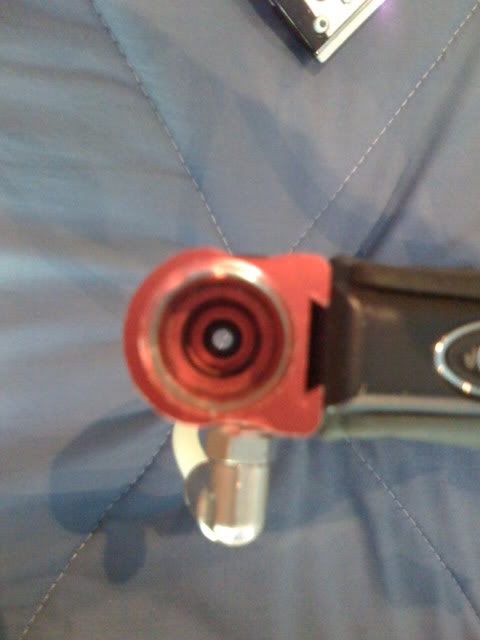
Step 1: Start by locating the pin inside the ASA that would depress a tank's regulator pin to allow air into the ASA.

Step 2: Screw the ASA's on/off knob as far out (off) all the way. Now stick the socket wrench/screwdriver into the back of the ASA, where you would screw the tank into. Now while looking at the back of the gun, in a counter-clockwise motion, unscrew the pin in the ASA that would depress a tank's regulator pin.
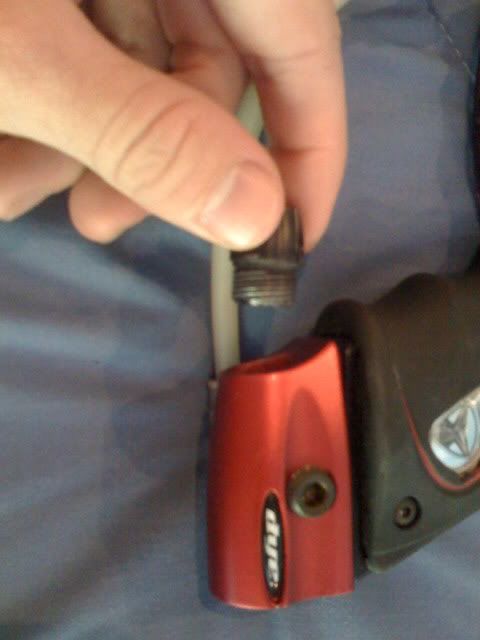
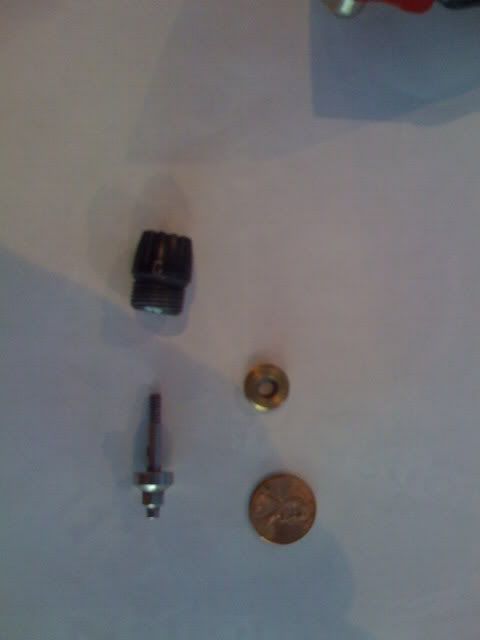
*The picture below shows that this pin looks like while outside of its' ASA housing.

Step 3: Unscrew the on/off knob and remove the knob and pin from the ASA
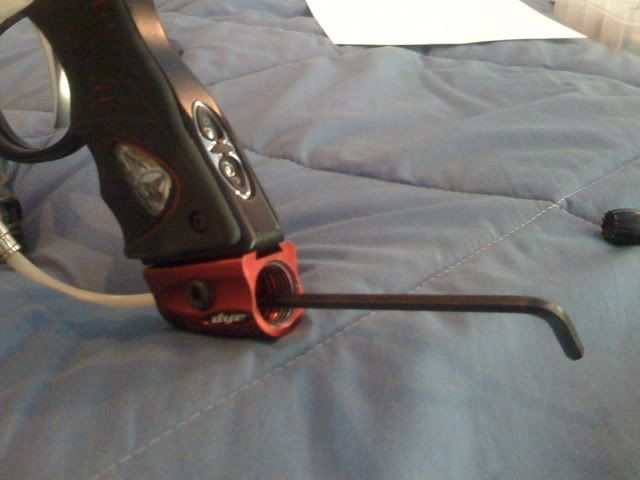
Step 4: Looking into the ASA where the pin was, you will see a brass like circle. Use your 3/16 allen key to unscrew (counter-clockwise) this piece.
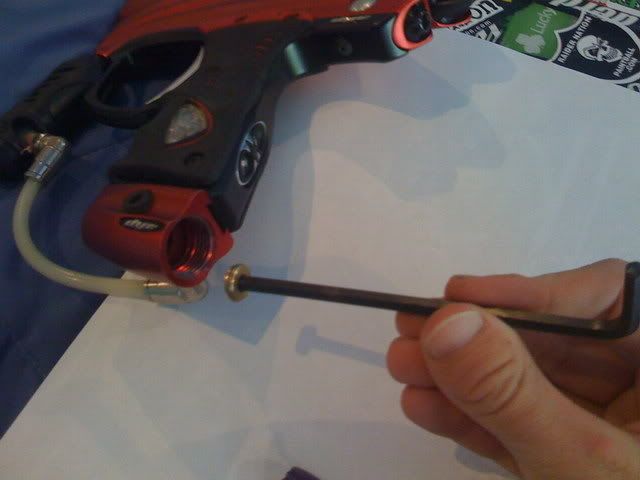
*The picture below shows a size comparison of the knob,pin, and the "brass piece"
Step 4: Looking into the ASA you will see the o-ring at the bottom. In this picture the o-ring is black, but the o-rings that are stock are clear. Use a pick or whatever you like to get this o-ring out. I HIGHLY suggest replacing the faulty o-ring, not just greasing it up. Now that you have the faulty o-ring out, grease up the new (007) oring with Dow 33 and pop it into place.
Now For Reassembly,
Step 5: Screw the brass piece back into place. This should be pretty snug
Step 6: With the front of the gun facing down, drop the pin back into the ASA. Push it down all the way so that you can see the threads coming out of where the knob should be.
Step 7: While the pin is held by the socket wrench/screwdriver, screw the pin into the female threading of the knob. Make this as tight as your hands will let it, but be careful as not to strip anything.
Step 8: The ASA is now ready for use, simply make sure you can screw the knob in and out without any trouble or friction and screw on a tank to check for any leaks.


 Your Privacy Choices