Hello citizens of Voided Warranty, I come to you today with a "How to..." and "What to avoid.." Guide for modding your autococker with a clamping feedneck.
I have many pictures to show you how I did it, these are pictures from my first attempt at this modification which went over very well with minor issues.
I will also include inside on how to avoid the small mishaps I had.
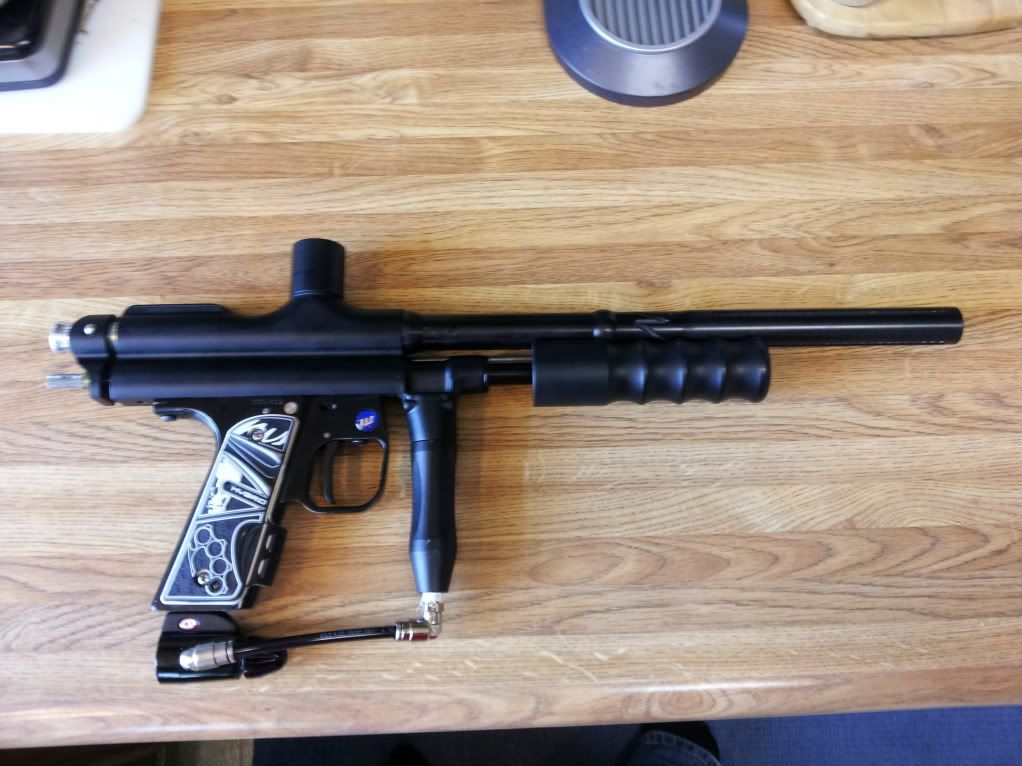
Some back knowledge, I was modding a stock Trilogy body with the bulky bottle neck.
(I will post all pictures in order in a second section so the steps do not look cluttered!)
Tools and equipment needed:
Hack Saw
Bench Vice (or a drunk body to hold the gun... I suggest not)
Towel
Metal File
Compressed Air or Air Compressor.
Planet Eclipse Ego/Etek clamping feedneck
(the model with a duel clamp, top and bottom)
STEP 1:
Strip down your marker. Remove everything you can, springs, detents, pump air, grips, ASA, Reg and anything else. (You can take the body off the trigger frame if you want... but I suggest not to so you have something to vice. **)
STEP 2:
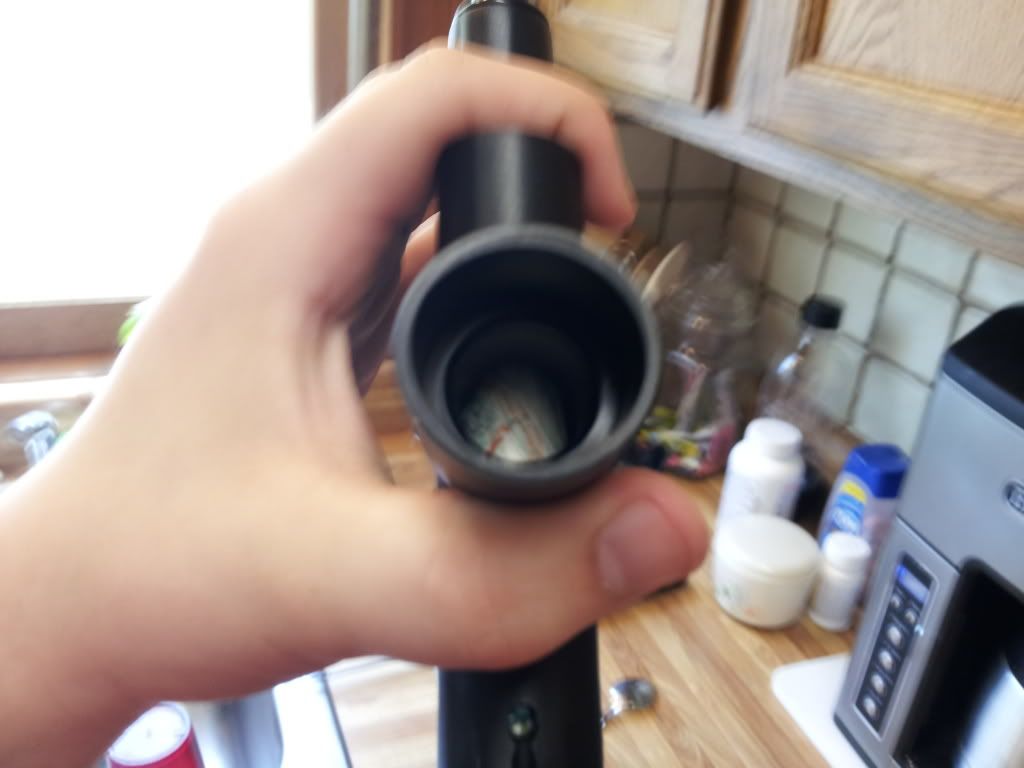
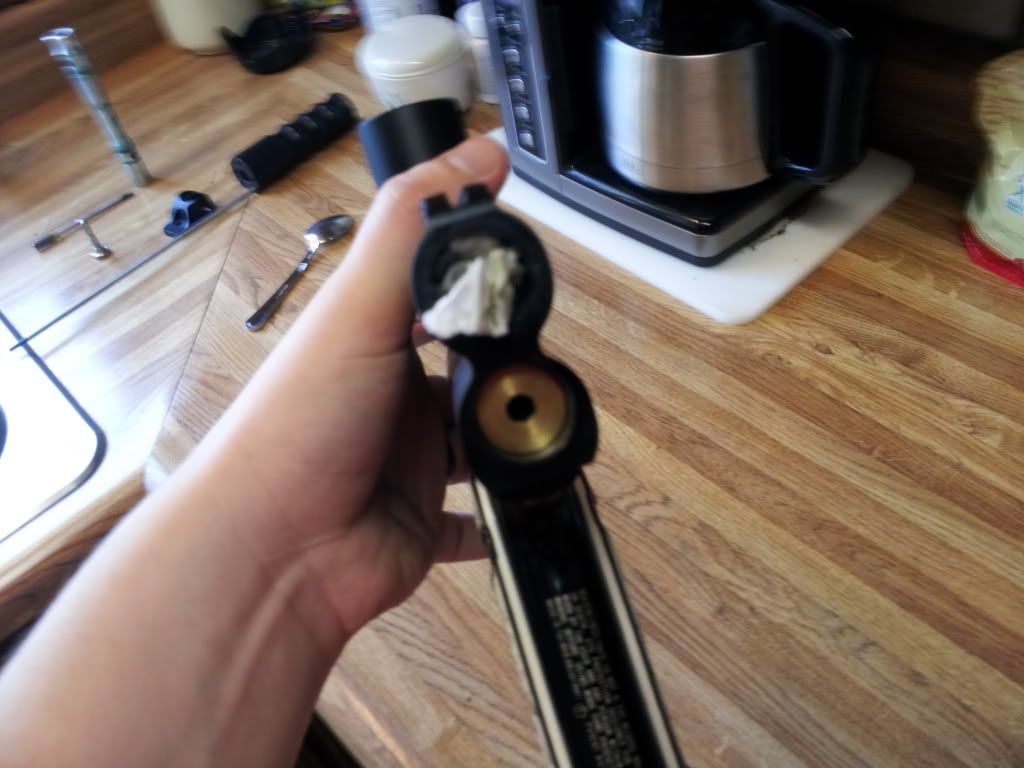
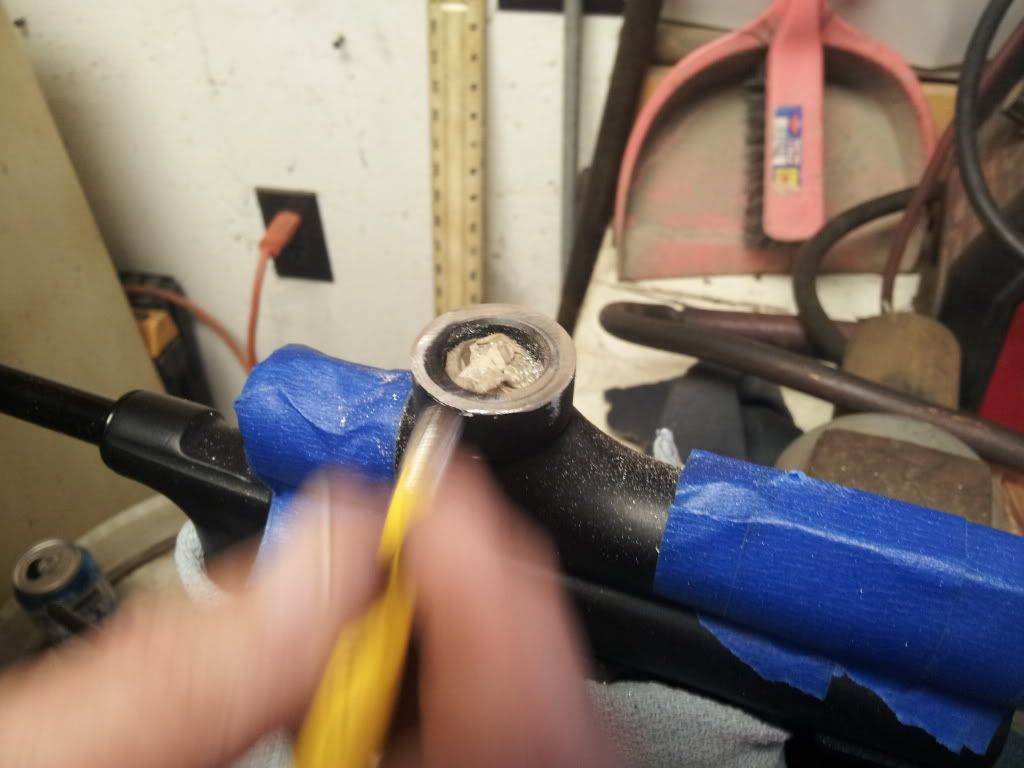
Stuff the barrel chamber with shop towels or heavy duty paper towels. this it to prevent any shavings from entering the firing chamber and will make clean up much easier later.
STEP 3:
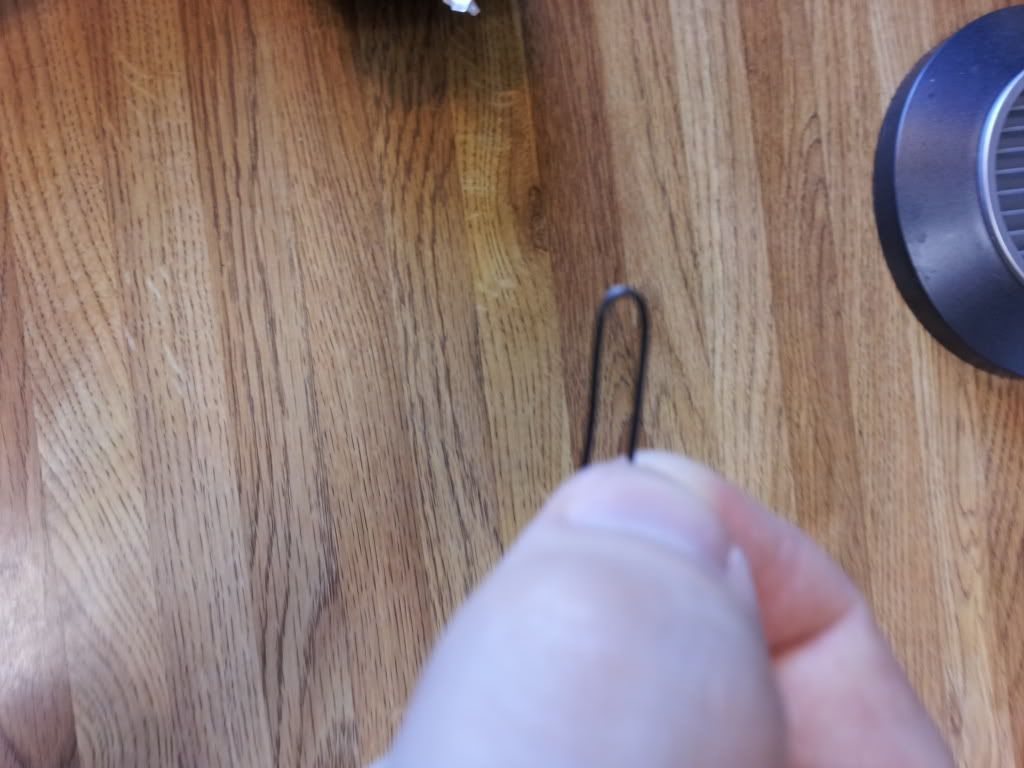
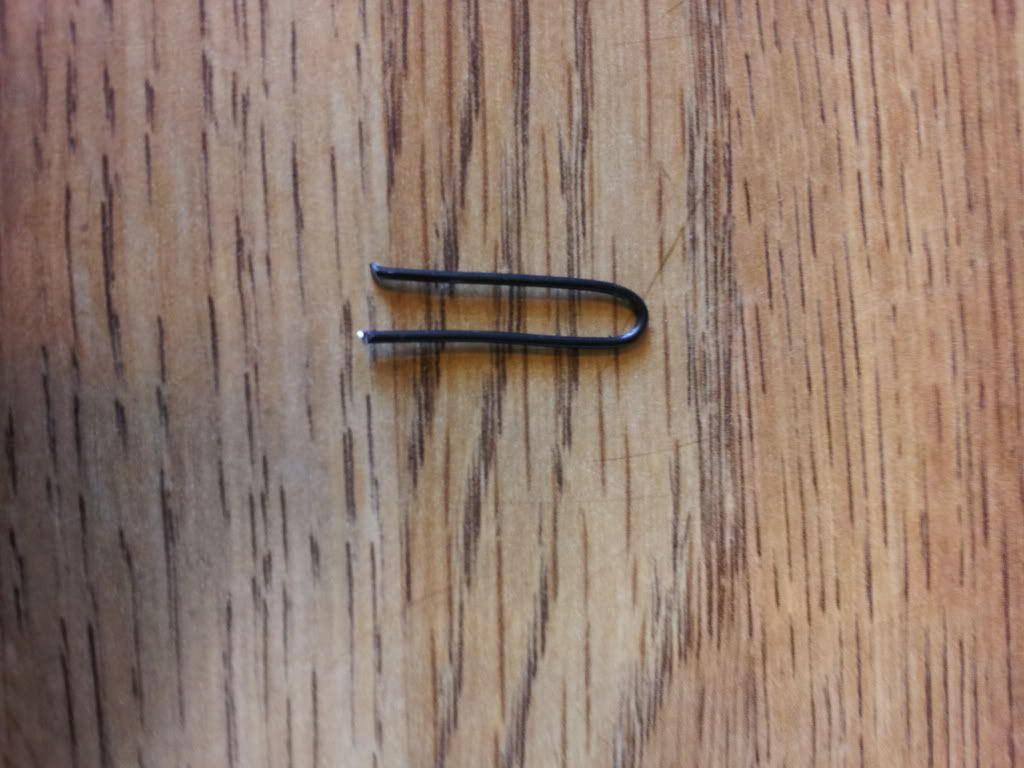
Use a bit of wire or a paper clip to bend around the feedneck. Mark the outside of the feedneck to where the fatter lip begins. (See pictures)
STEP 4:
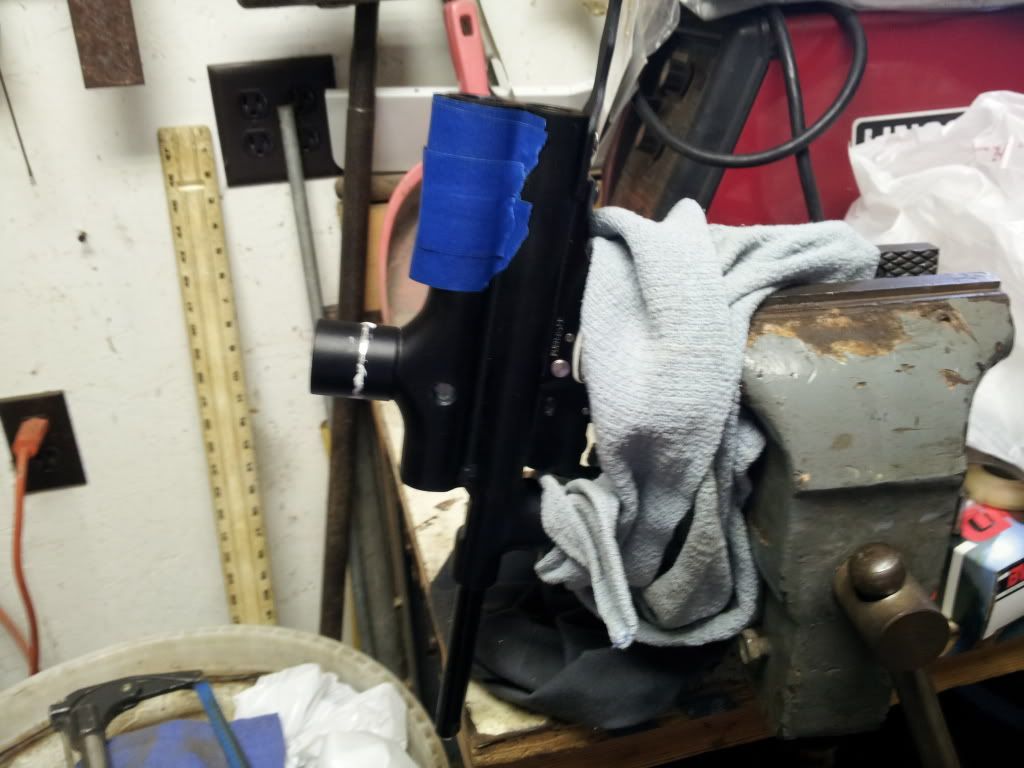
Vice the gun so the feedneck is horizontal. Earlier I suggested keeping the trigger frame on, here is why. You will have an easier time vicing teh gun down by wrapping a towel around your trigger frame thickly and vicing the gun by the trigger frame. Be sure the towel covers all exposed metal very well!
STEP 5:
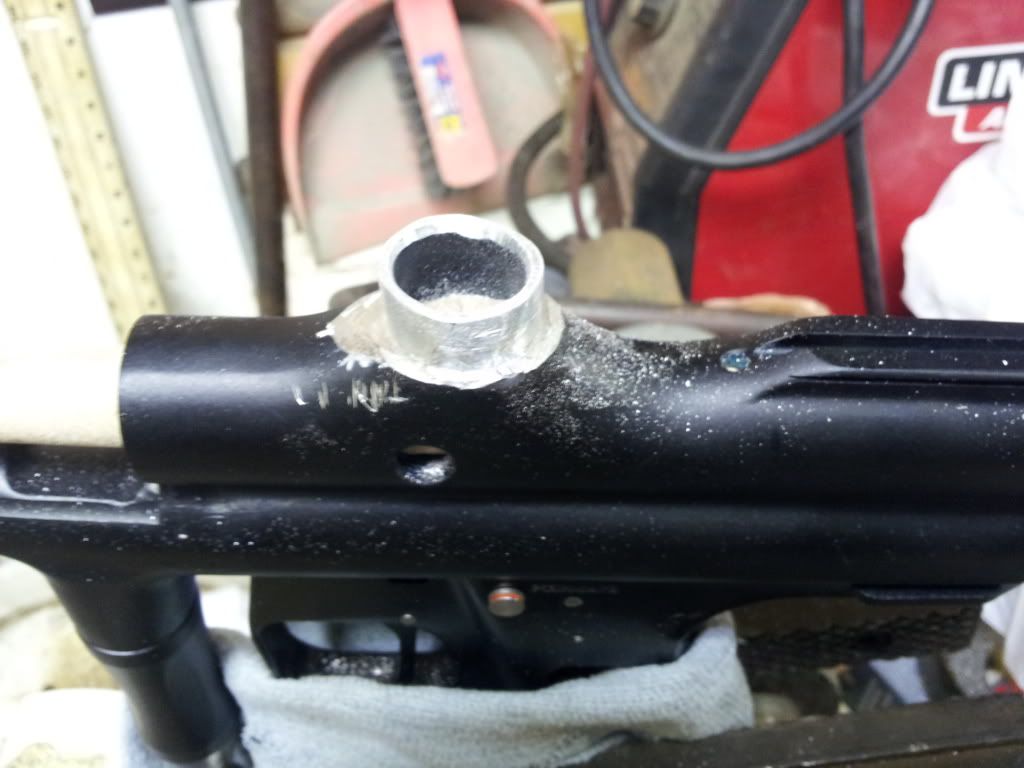
Hack saw away on the marking point you made with the wire. This is to rid yourself of the extra metal. Once this is done file and round out the inside and outside metal.
STEP 6:
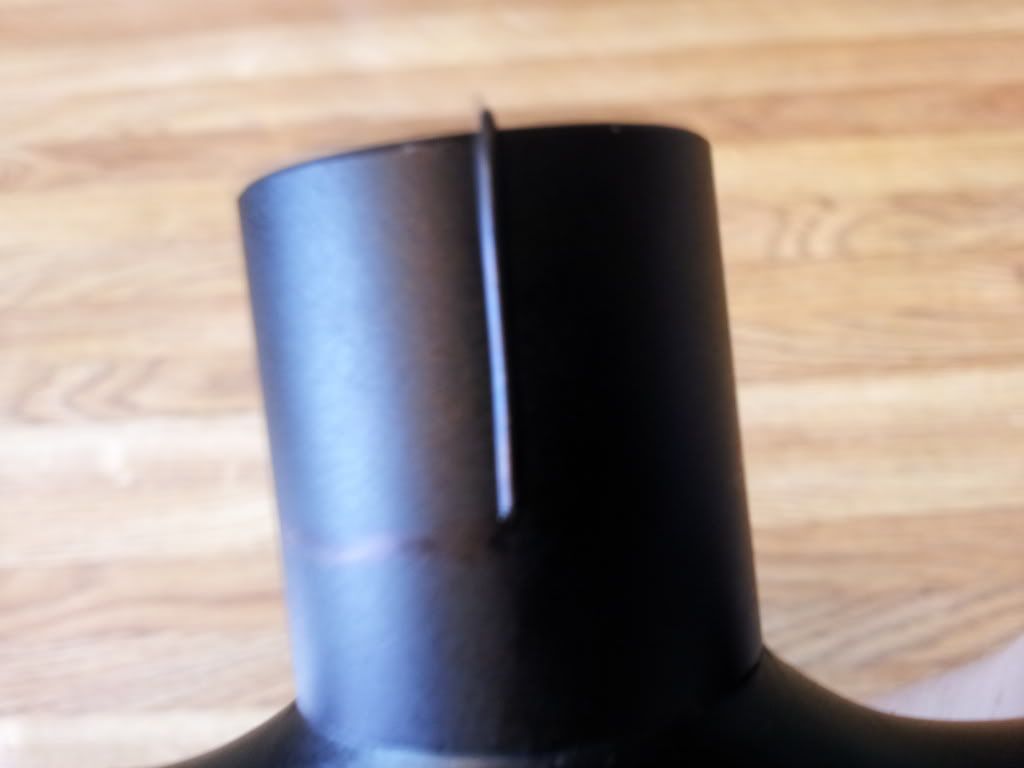
Measure the Ego Feedneck and mark the metal. Be sure to mark the newly exposed shiny metal heavily and equally from all sides. Center it. (See Picture)
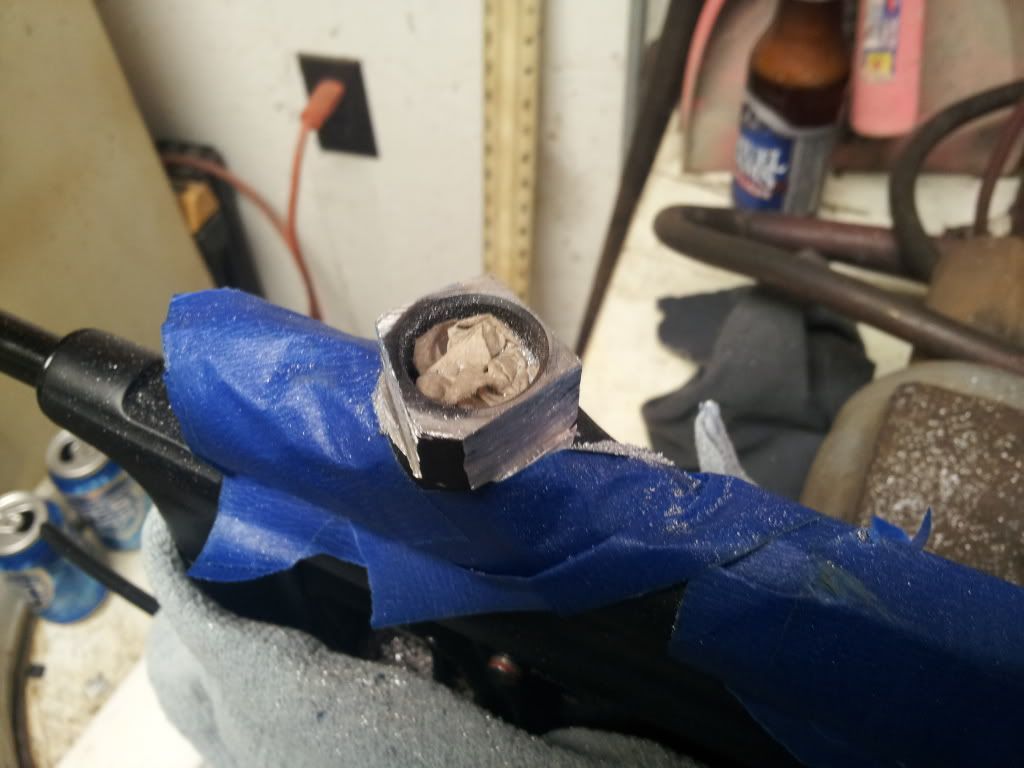
STEP 7: Tape around the feedneck and down the body. This is to prevent any damage while doing the next part. Cut directly down to the body at four spots, making sure the cut only barely touches the tip of the line. Be mindful of where your stop is for the neck and how straight your cut is. I suggest cutting a notch underneath in advance. Do this 4 times to make a square like shape.
STEP 8:
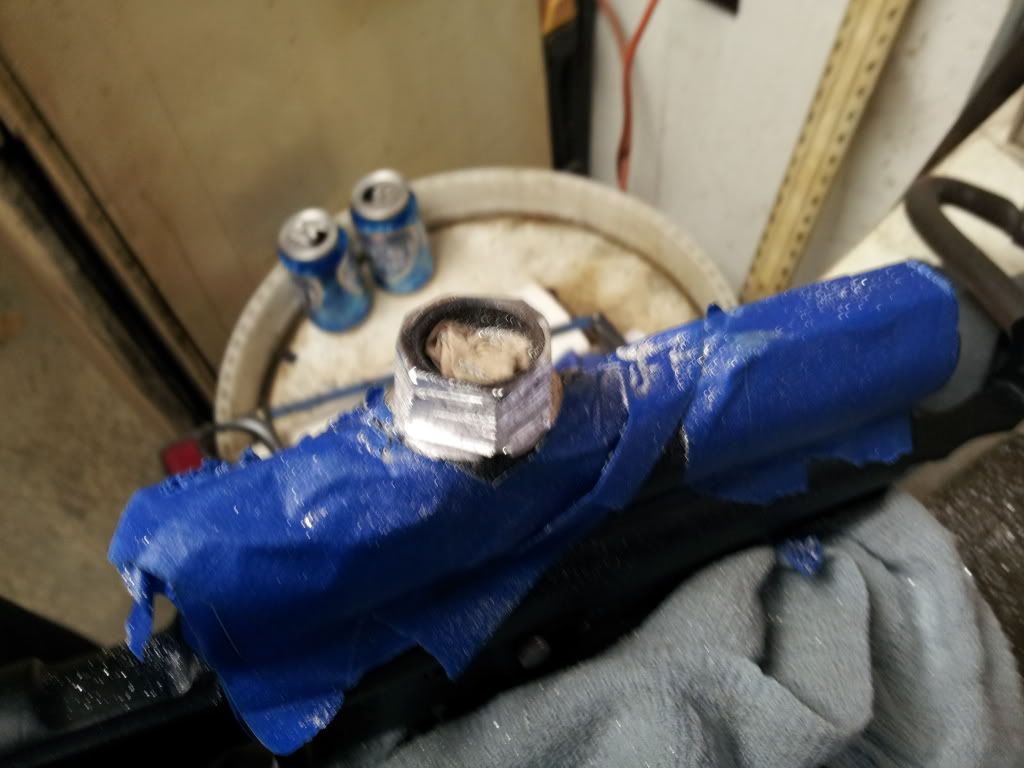
Do this again to make a octogon. Again make notch cuts and be aware of your measure line.
STEP 9: File away the corners to round out the meal. Now is time for a dry fit. File until you can get the feedneck on SNUGGLY!
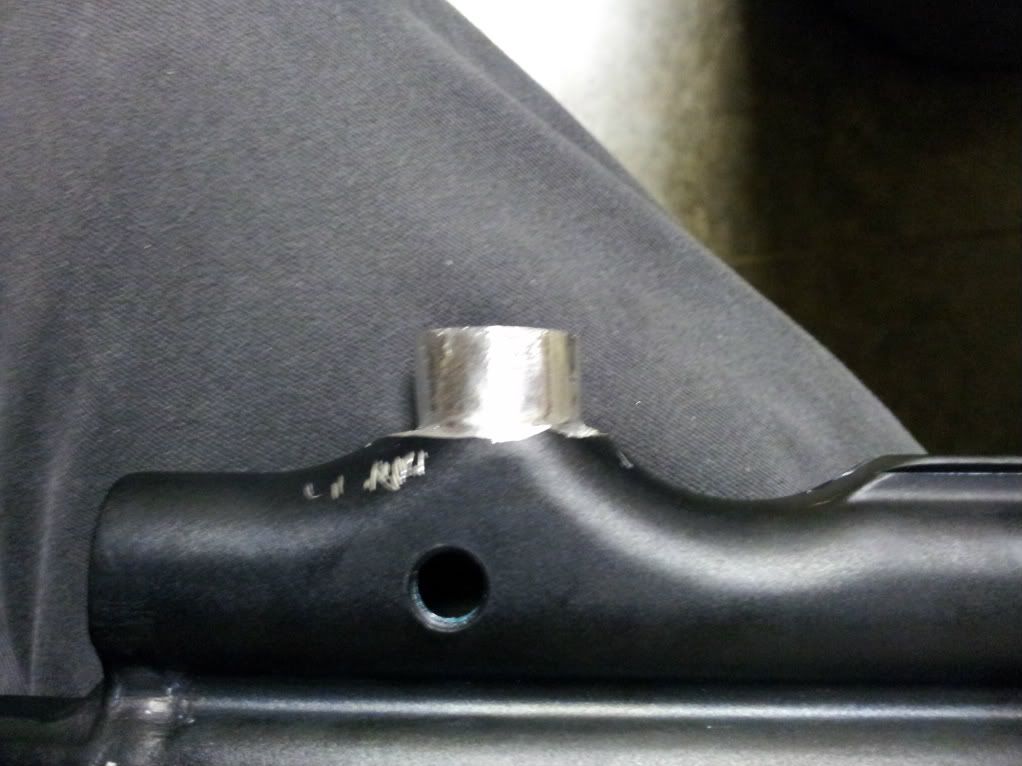
STEP 10: More filing, use a dry file to slowly level and file down the feedneck so the Ego Clamping Neck is flat with the body. Take it slow.
STEP 11: Secure the feedneck, check to make sure the Feedneck is not being hindered or held up by any imperfections from the saw, if it is file those down.
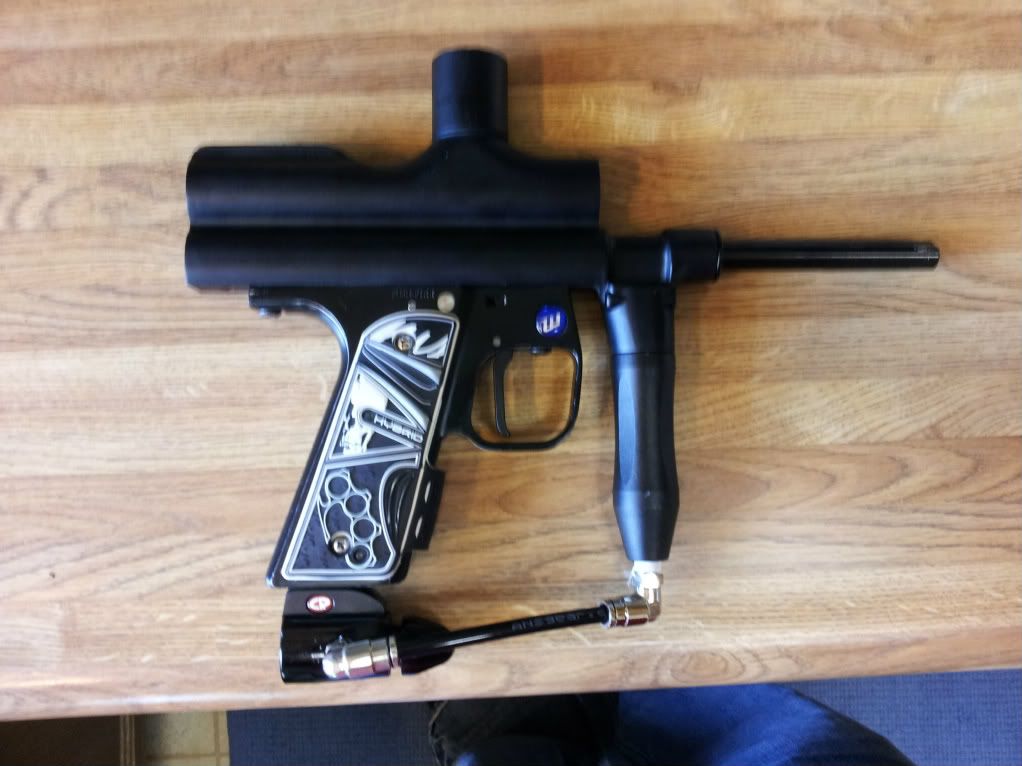
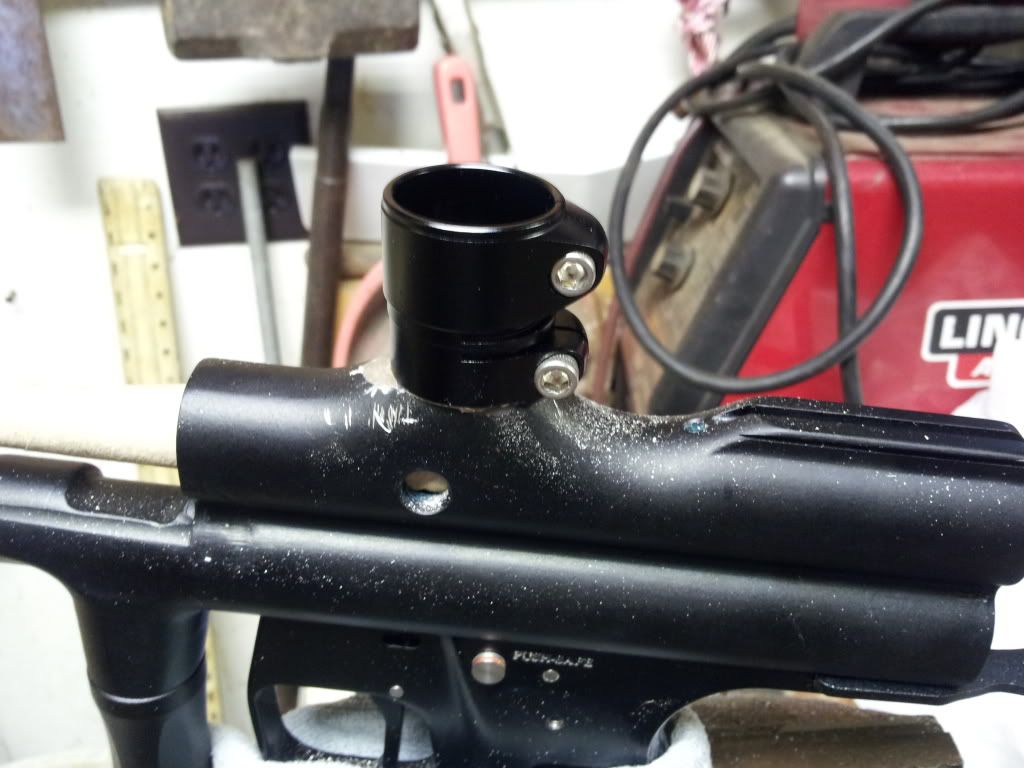
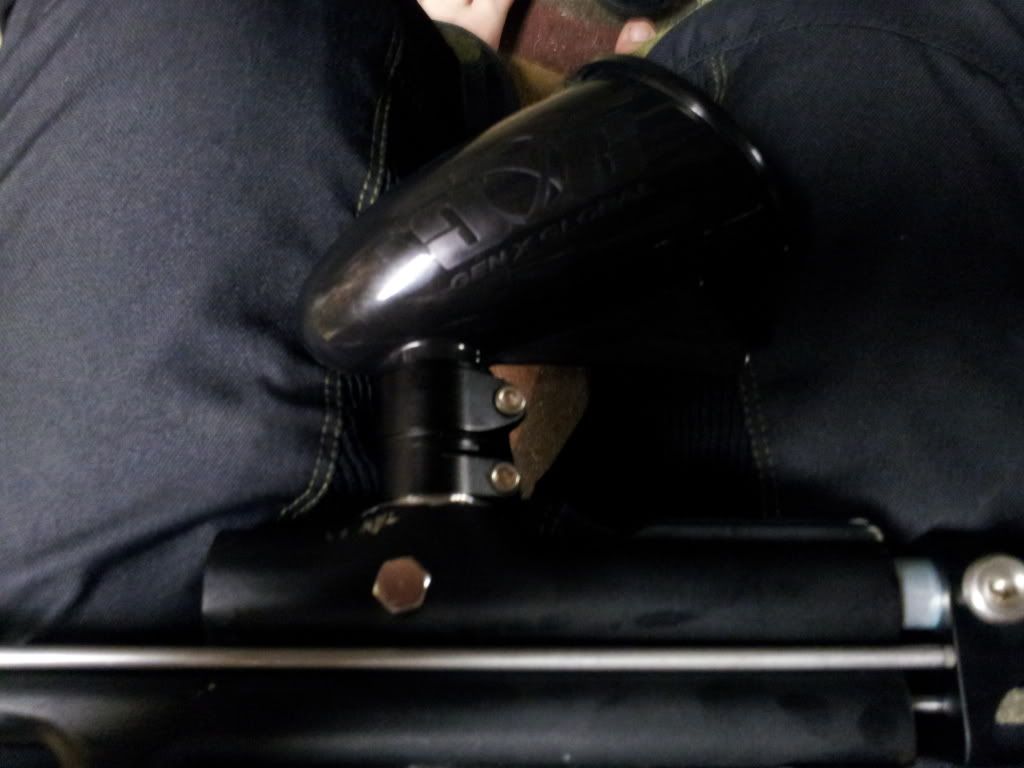
STEP 12: Secure the new feedneck and marvel!
Any questions, feel free to post down below. My pictures show that I did make a few mistakes here and there, but this was my first shot at this mod. I have gotten better since

Let me know how it goes for you.


 Your Privacy Choices